Salmon-turned-Trout Quilt

Hello and welcome! Are you a quilter?
I dabble in quilting, but this was my first time to appliqué a quilt. The original pattern is from a beautiful quilt shop on Granville Island in Vancouver, Canada, The Cloth Shop. Their store participated in the 2017 Row by Row Experience, a quilt shop hop. I bought the store’s colorful 9″x13″ batik salmon block kit. A couple of years later, I presented the piece almost finished to my husband. “Would you like it to be a table runner or decorative pillow?” I asked. His response was, “A quilt.”
Ugh. Was that one of the options given?!
We live 2200 miles from The Cloth Shop and since I didn’t have any of the coordinating fabric or the same background fabric, I started over. Oklahoma doesn’t have salmon, but we are driving distance to trout fishing, so I transformed the salmon into trout: rainbow, cutthroat, brown, golden, and brook.
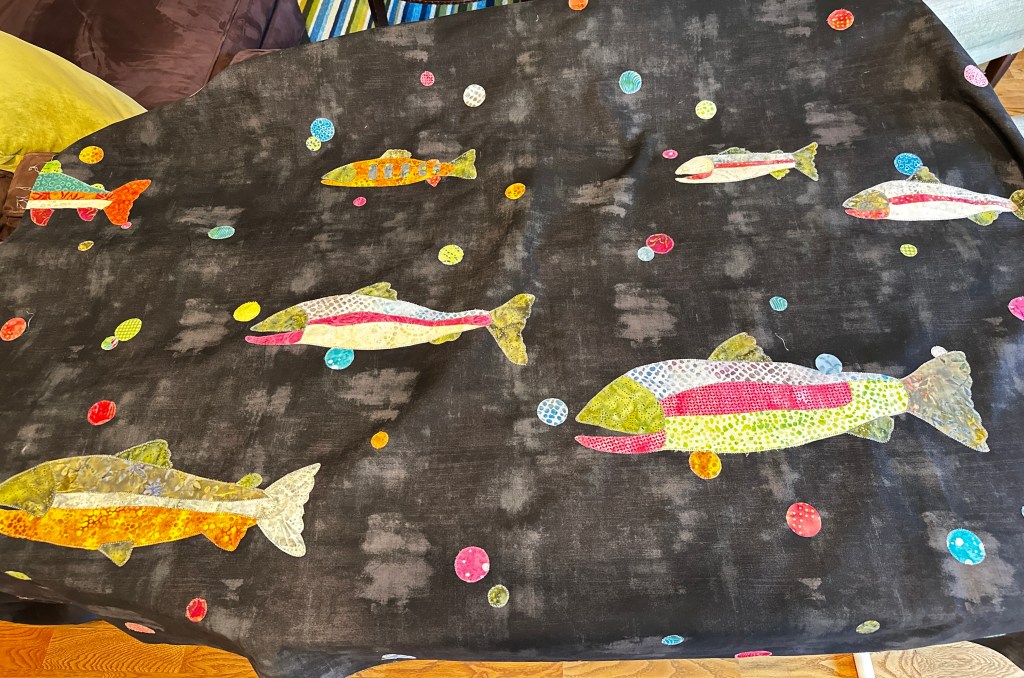
The original pattern was designed without eyes. I debated adding them, but feared the fish might look too cartoonish with eyes. I showed my husband the progress along the way. After many stops and starts and several years passed, it was completed: quilted, bound, and labeled.
My husband saw it and said, “Where are the eyes?” So, with one final change, now the fish DO have eyes and I’m okay with them.
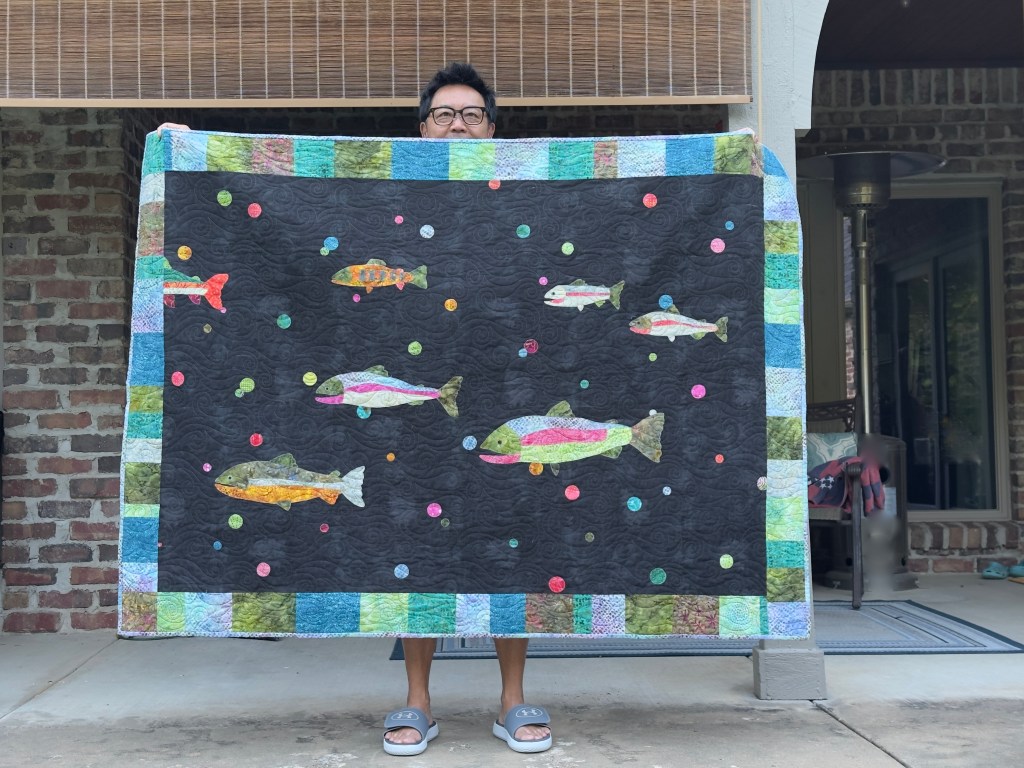
My fly fishing husband loves his quilt.
Are you yea or nay on the eyes?
Thanks for stopping by and happy creating!
di/a little bird crafts