Using a large floral stamp
Hi! Welcome to a little bird crafts. Need a quick card or even a set of them? It can’t get much easier than this one, but, it looks like a lot of effort thanks to the beautiful background paper.
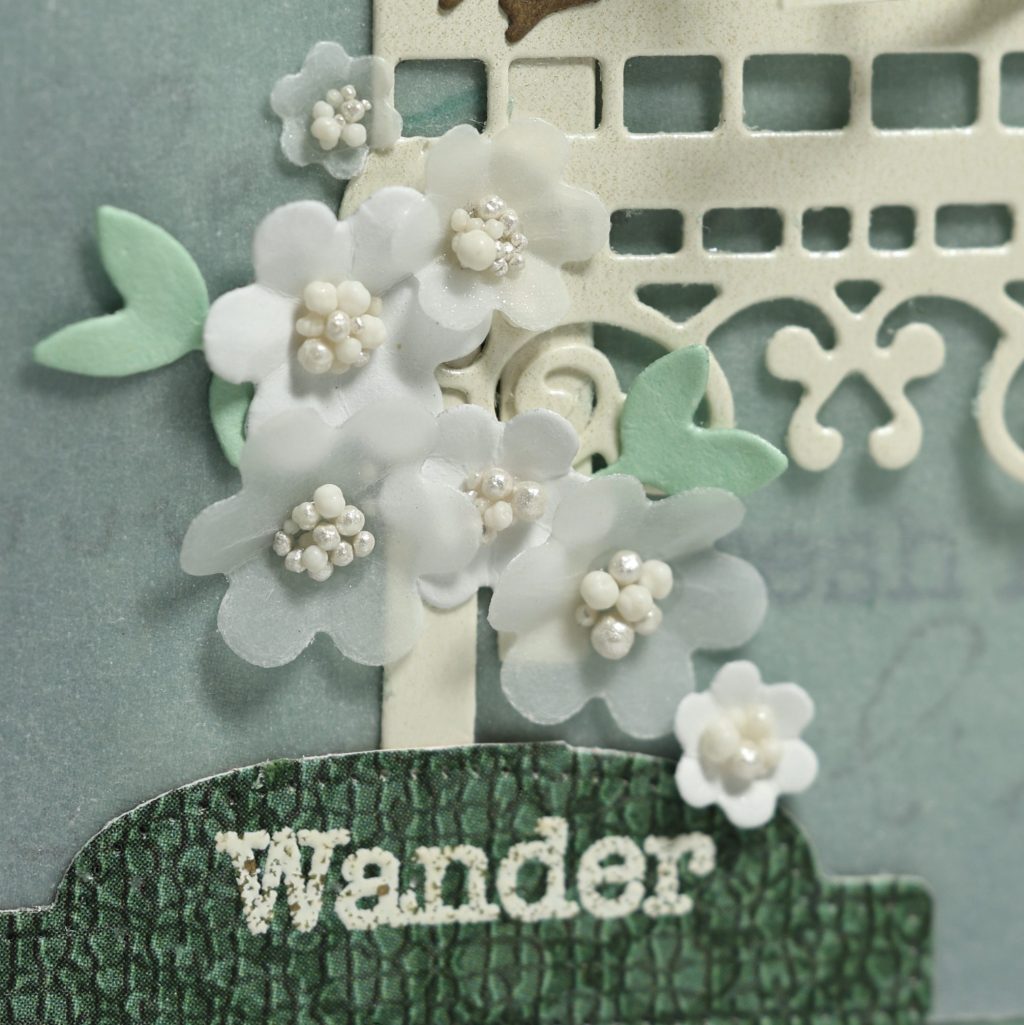
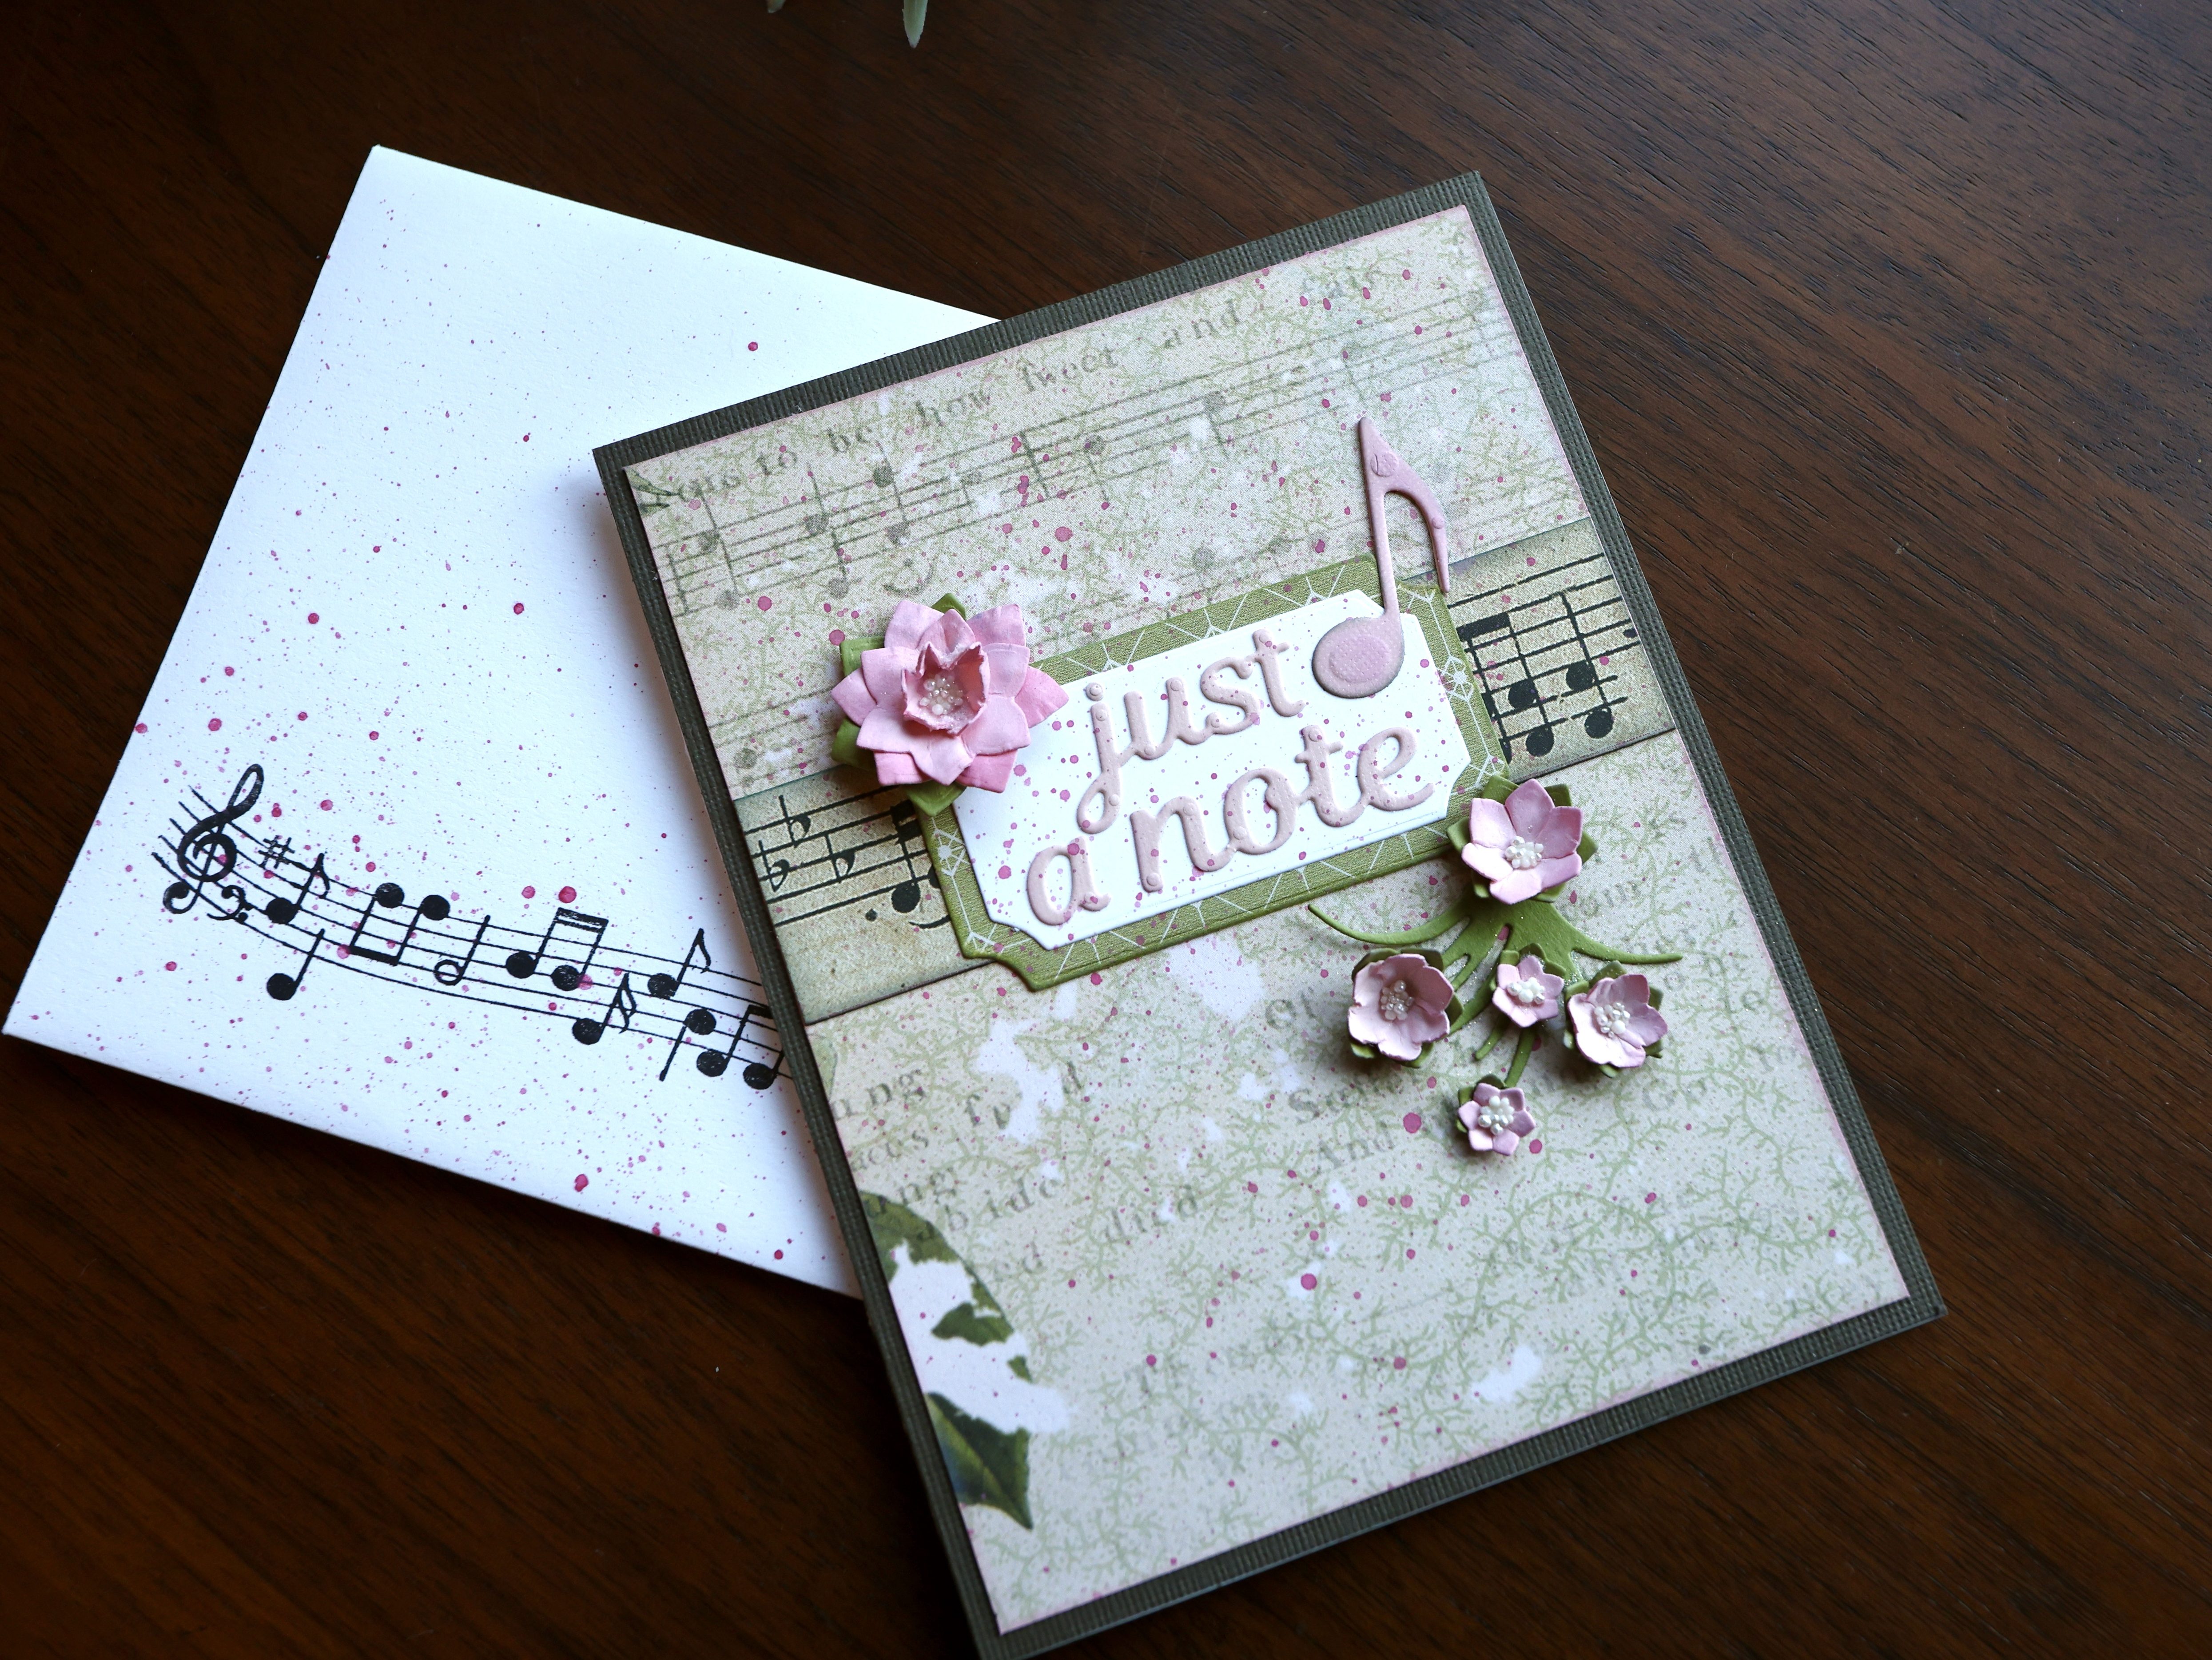
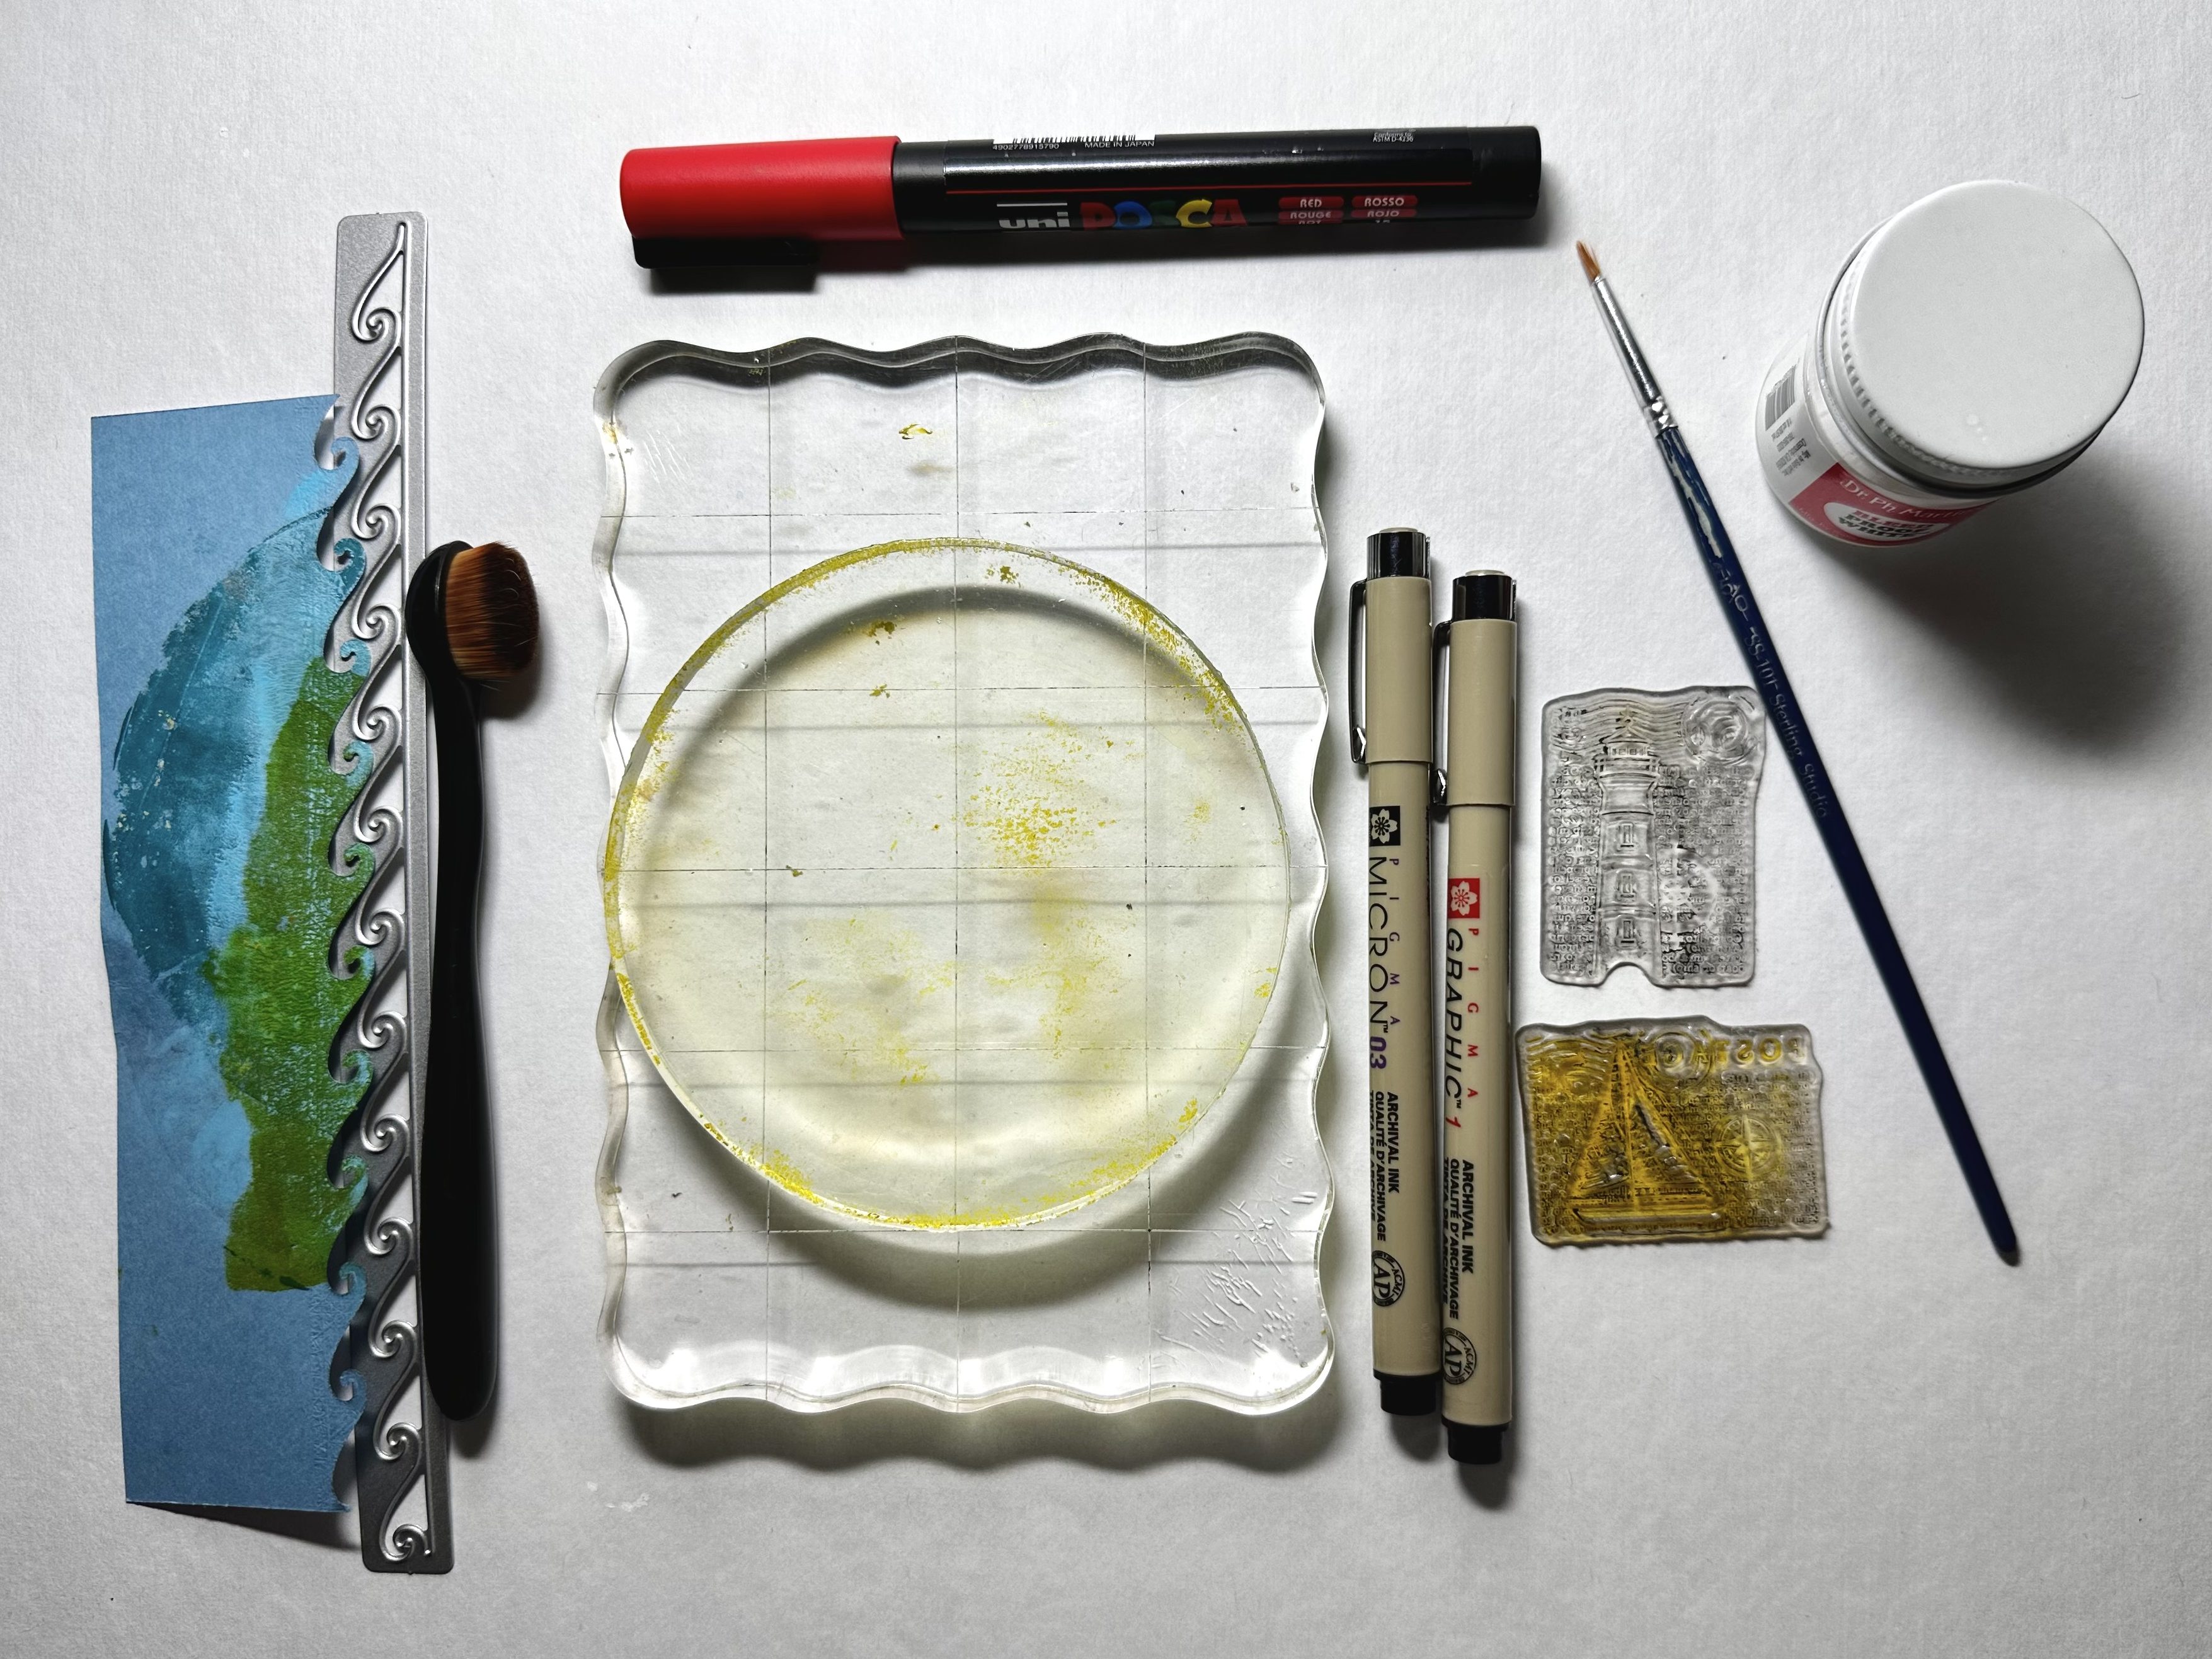
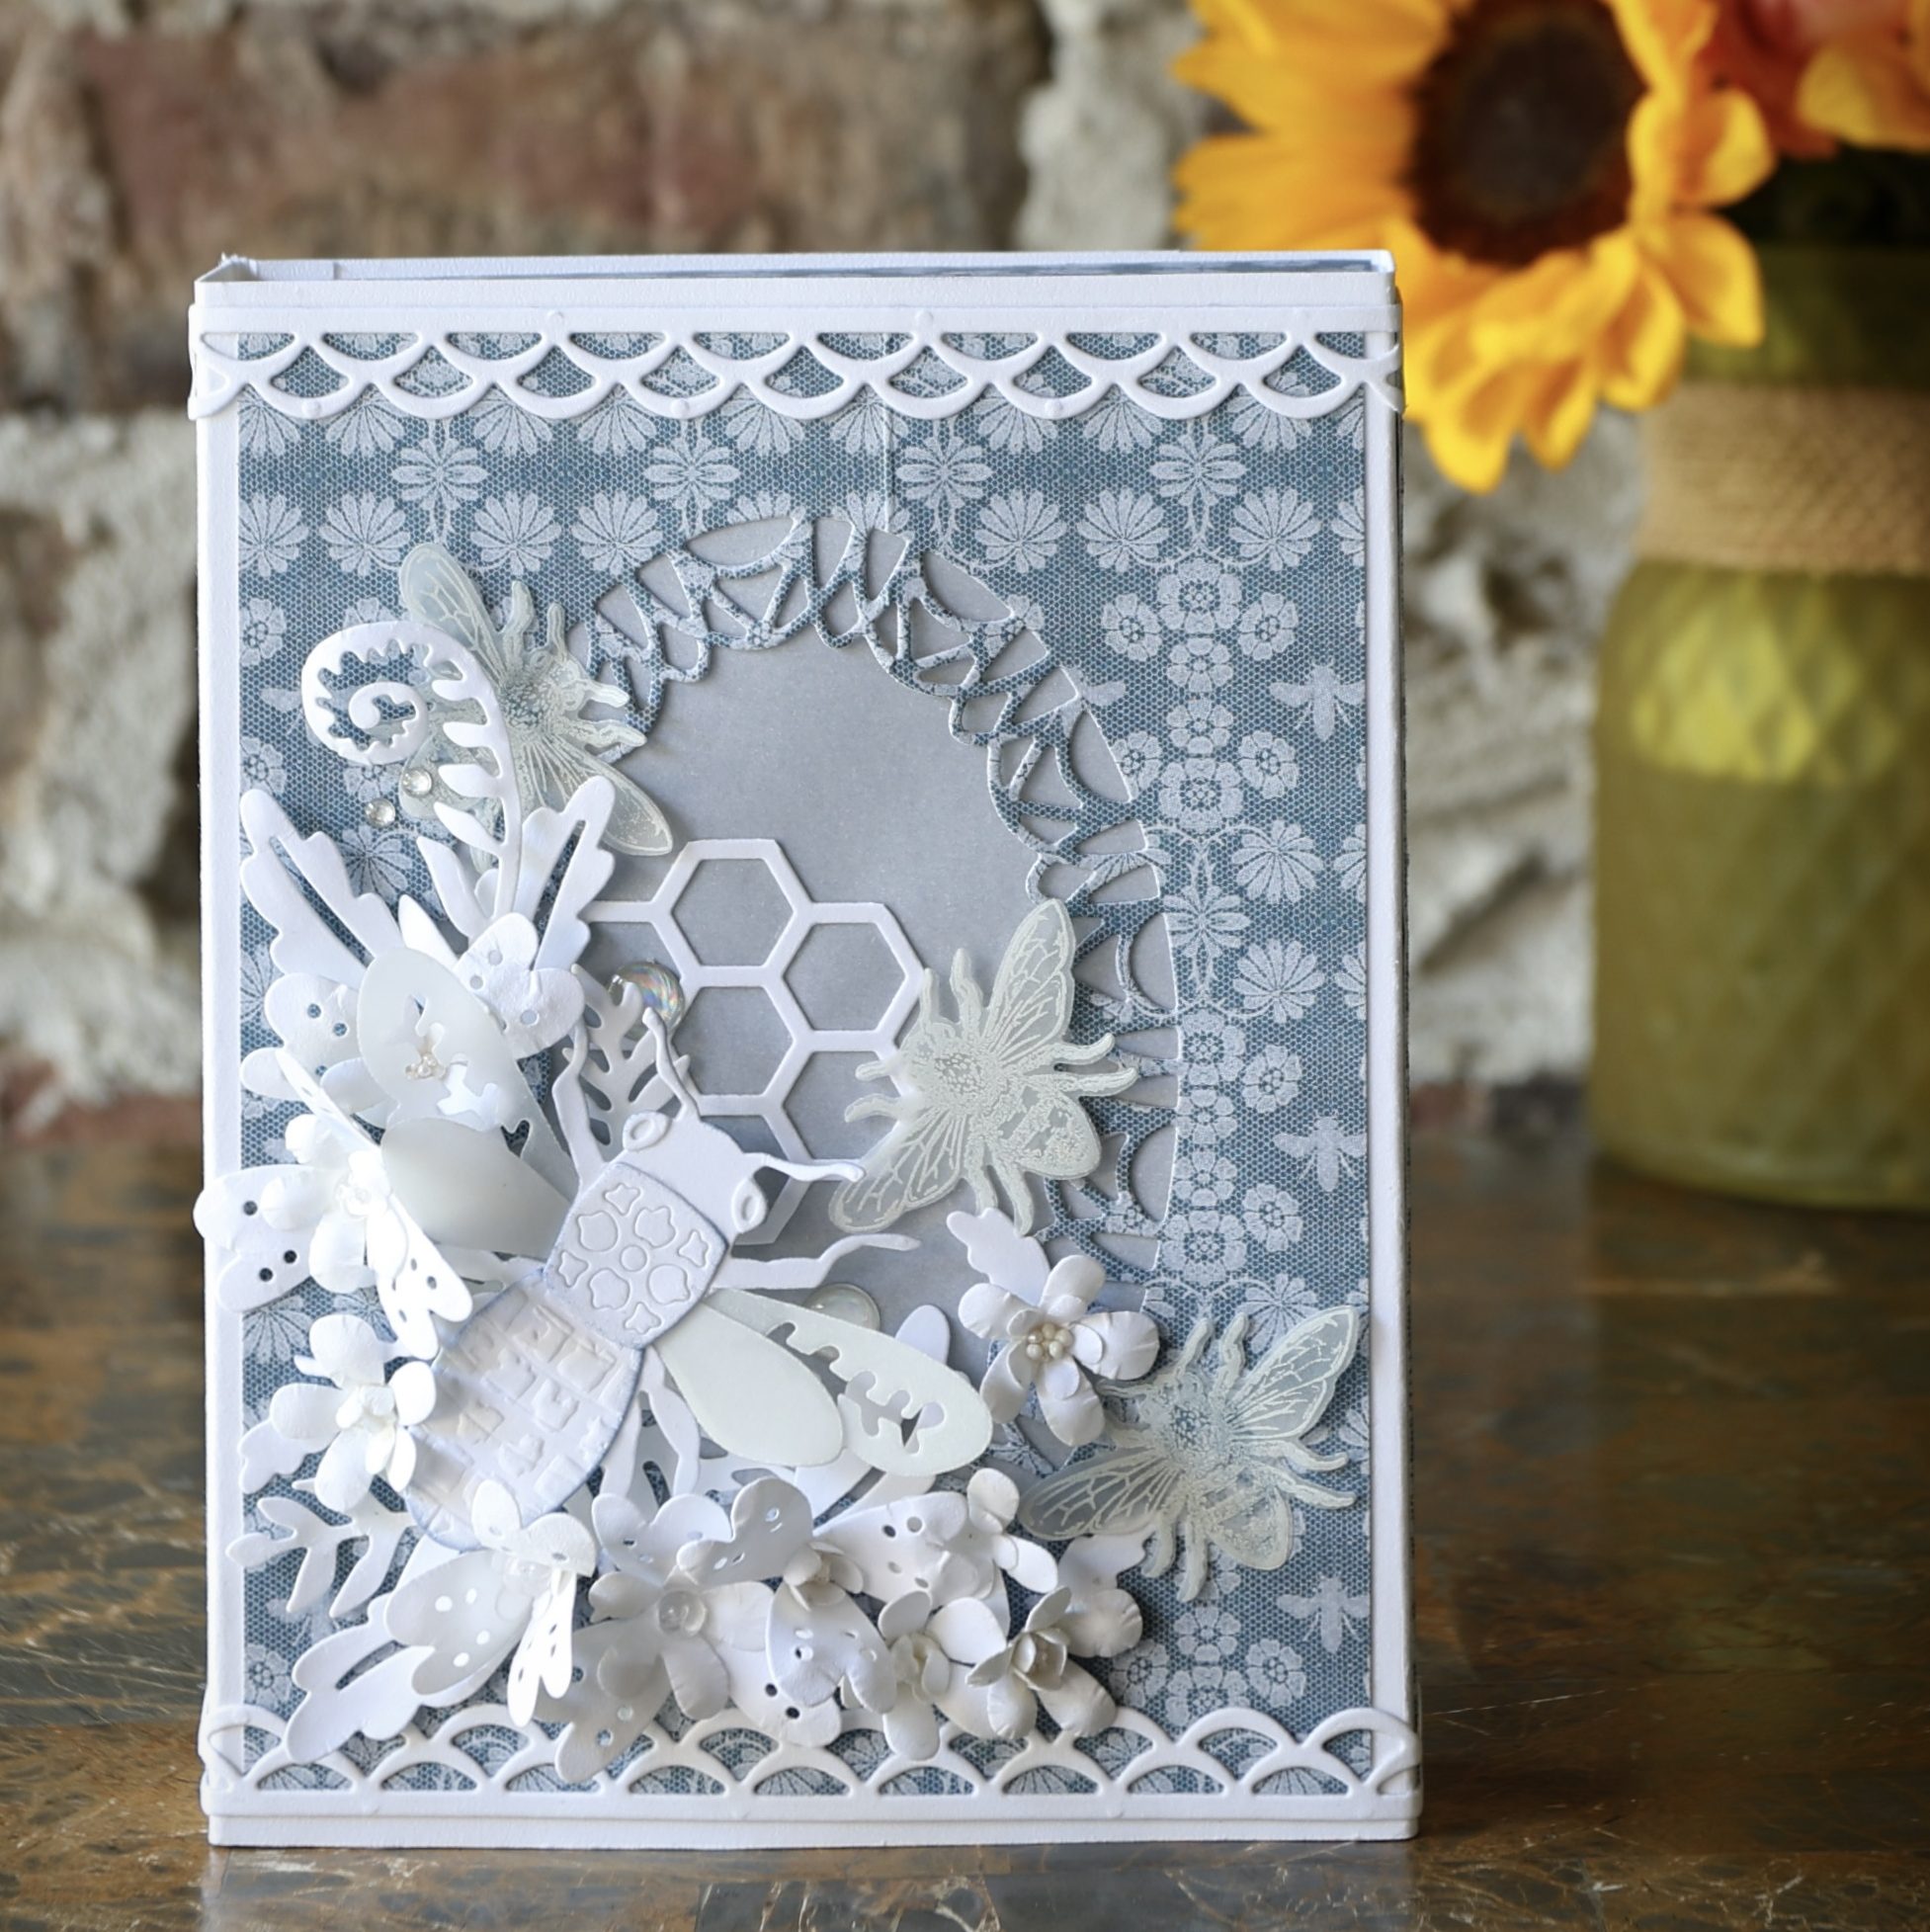
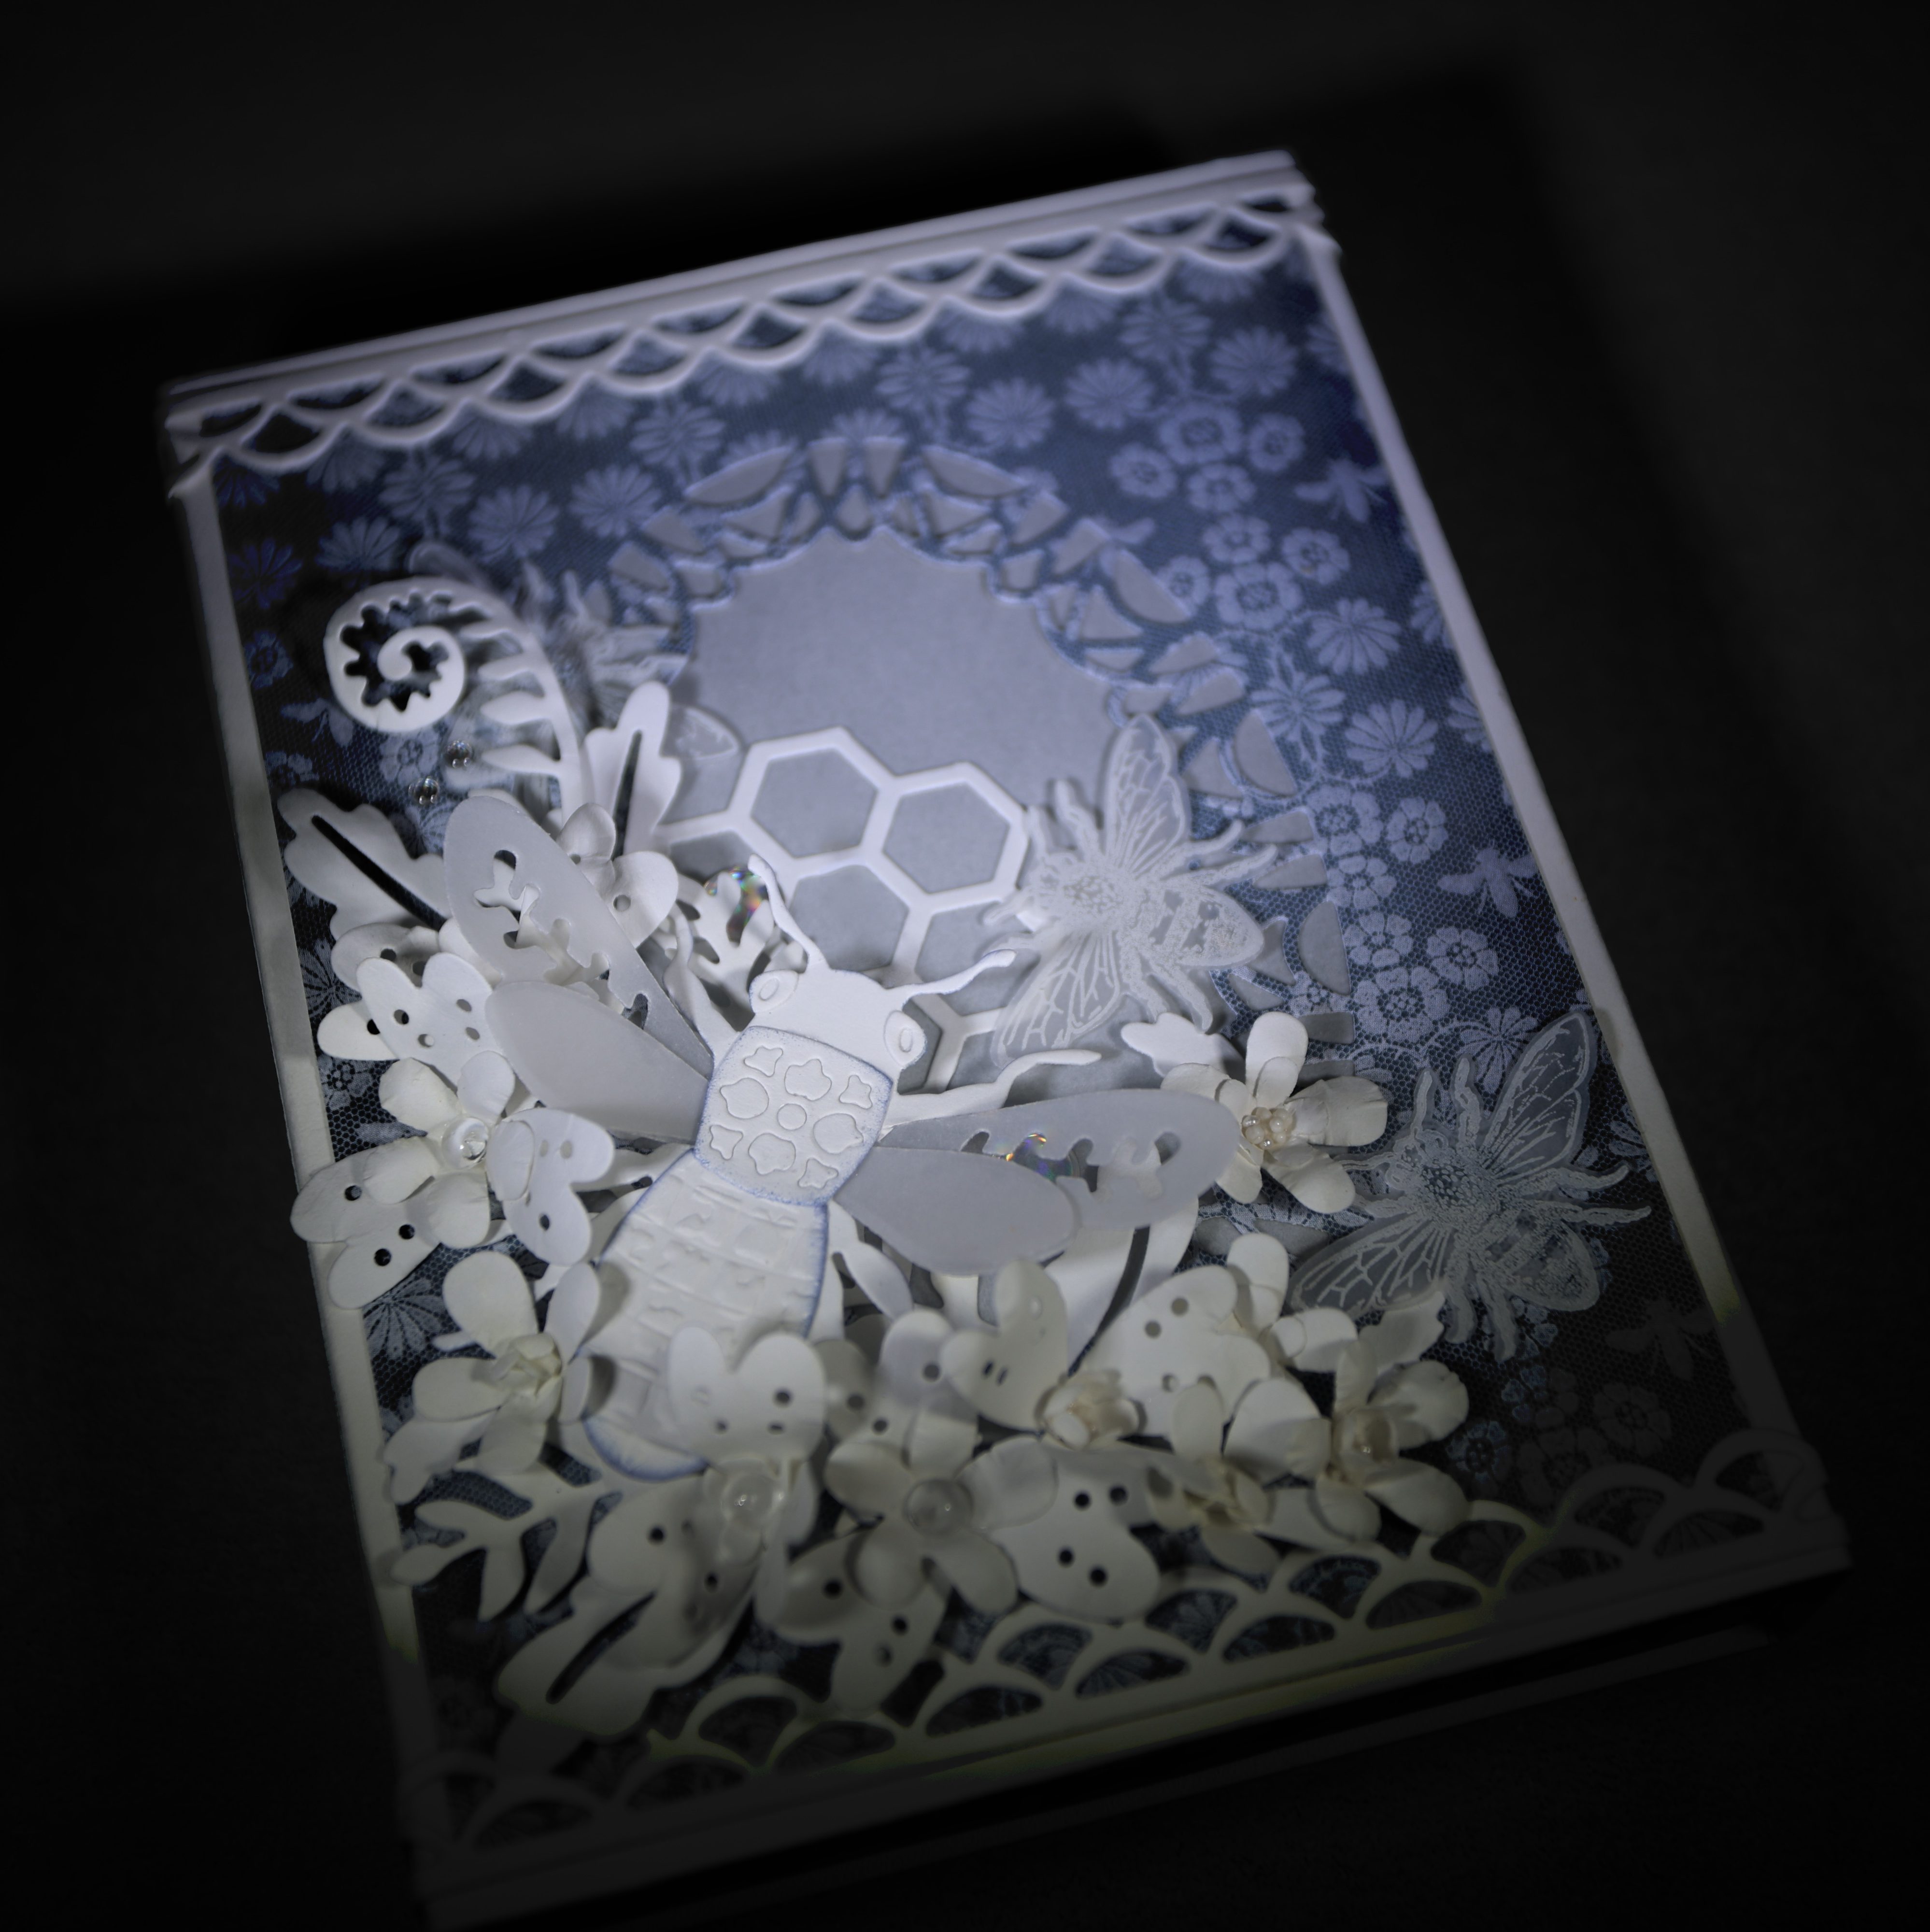
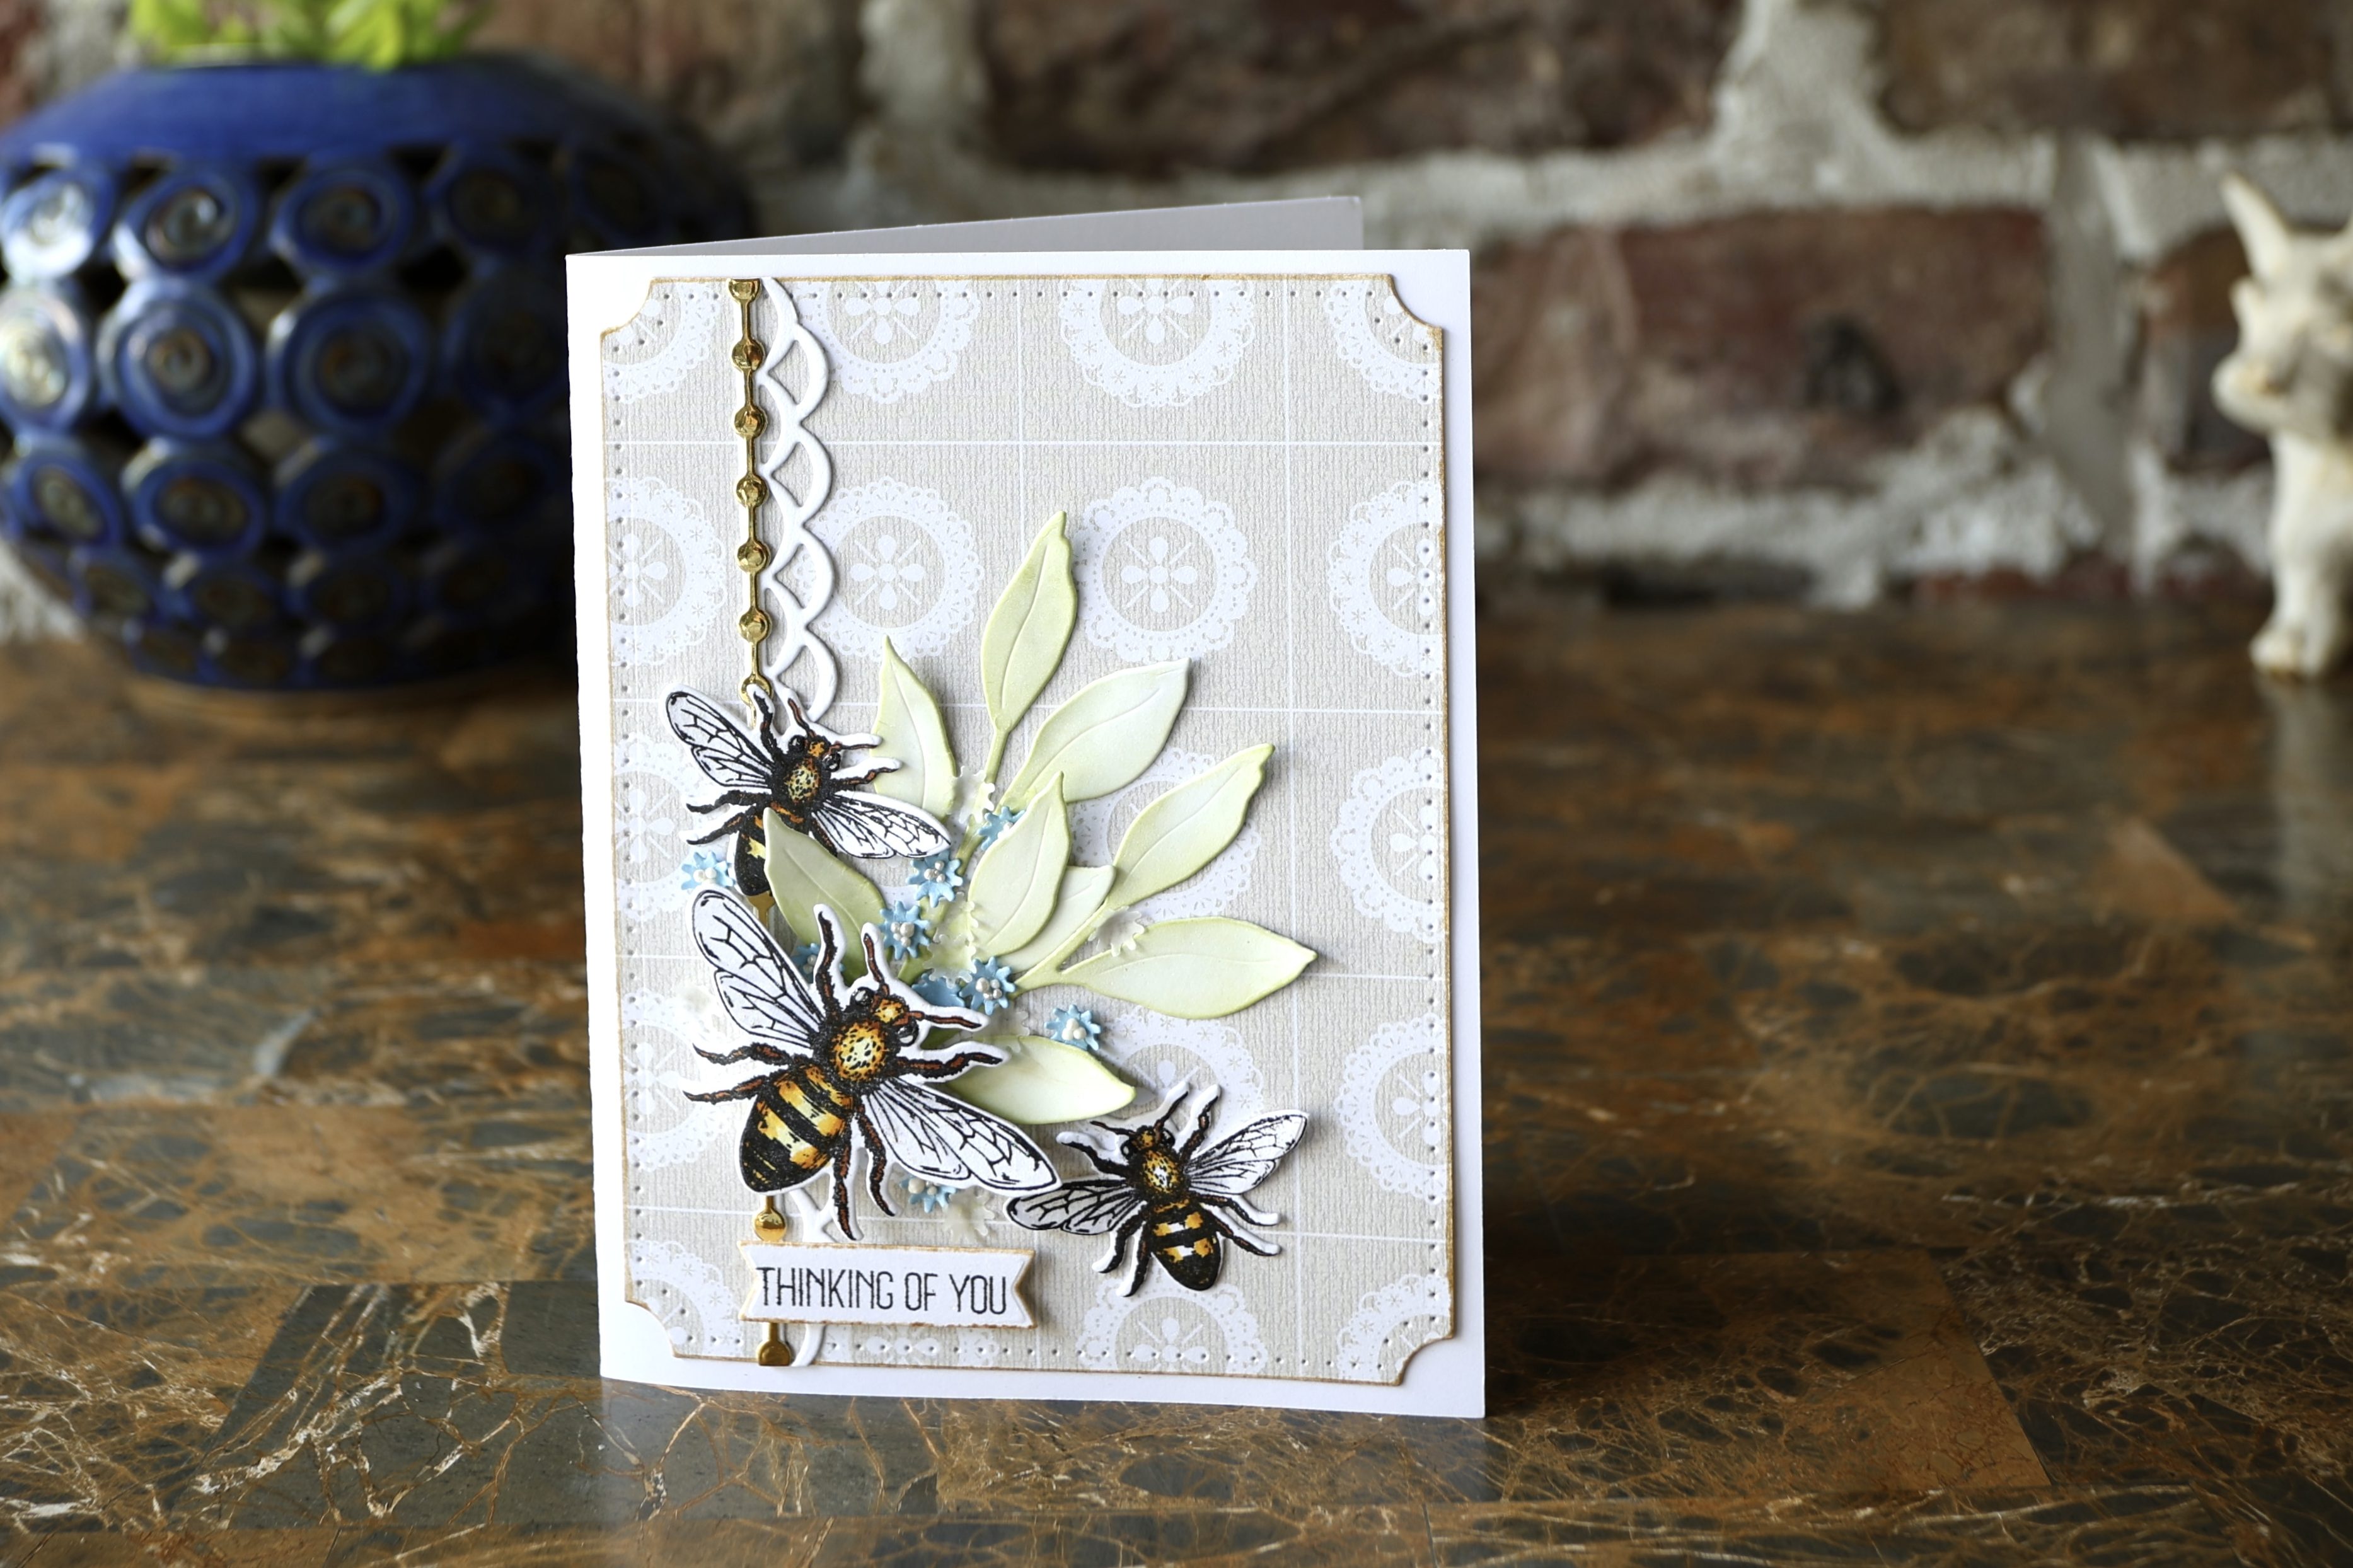
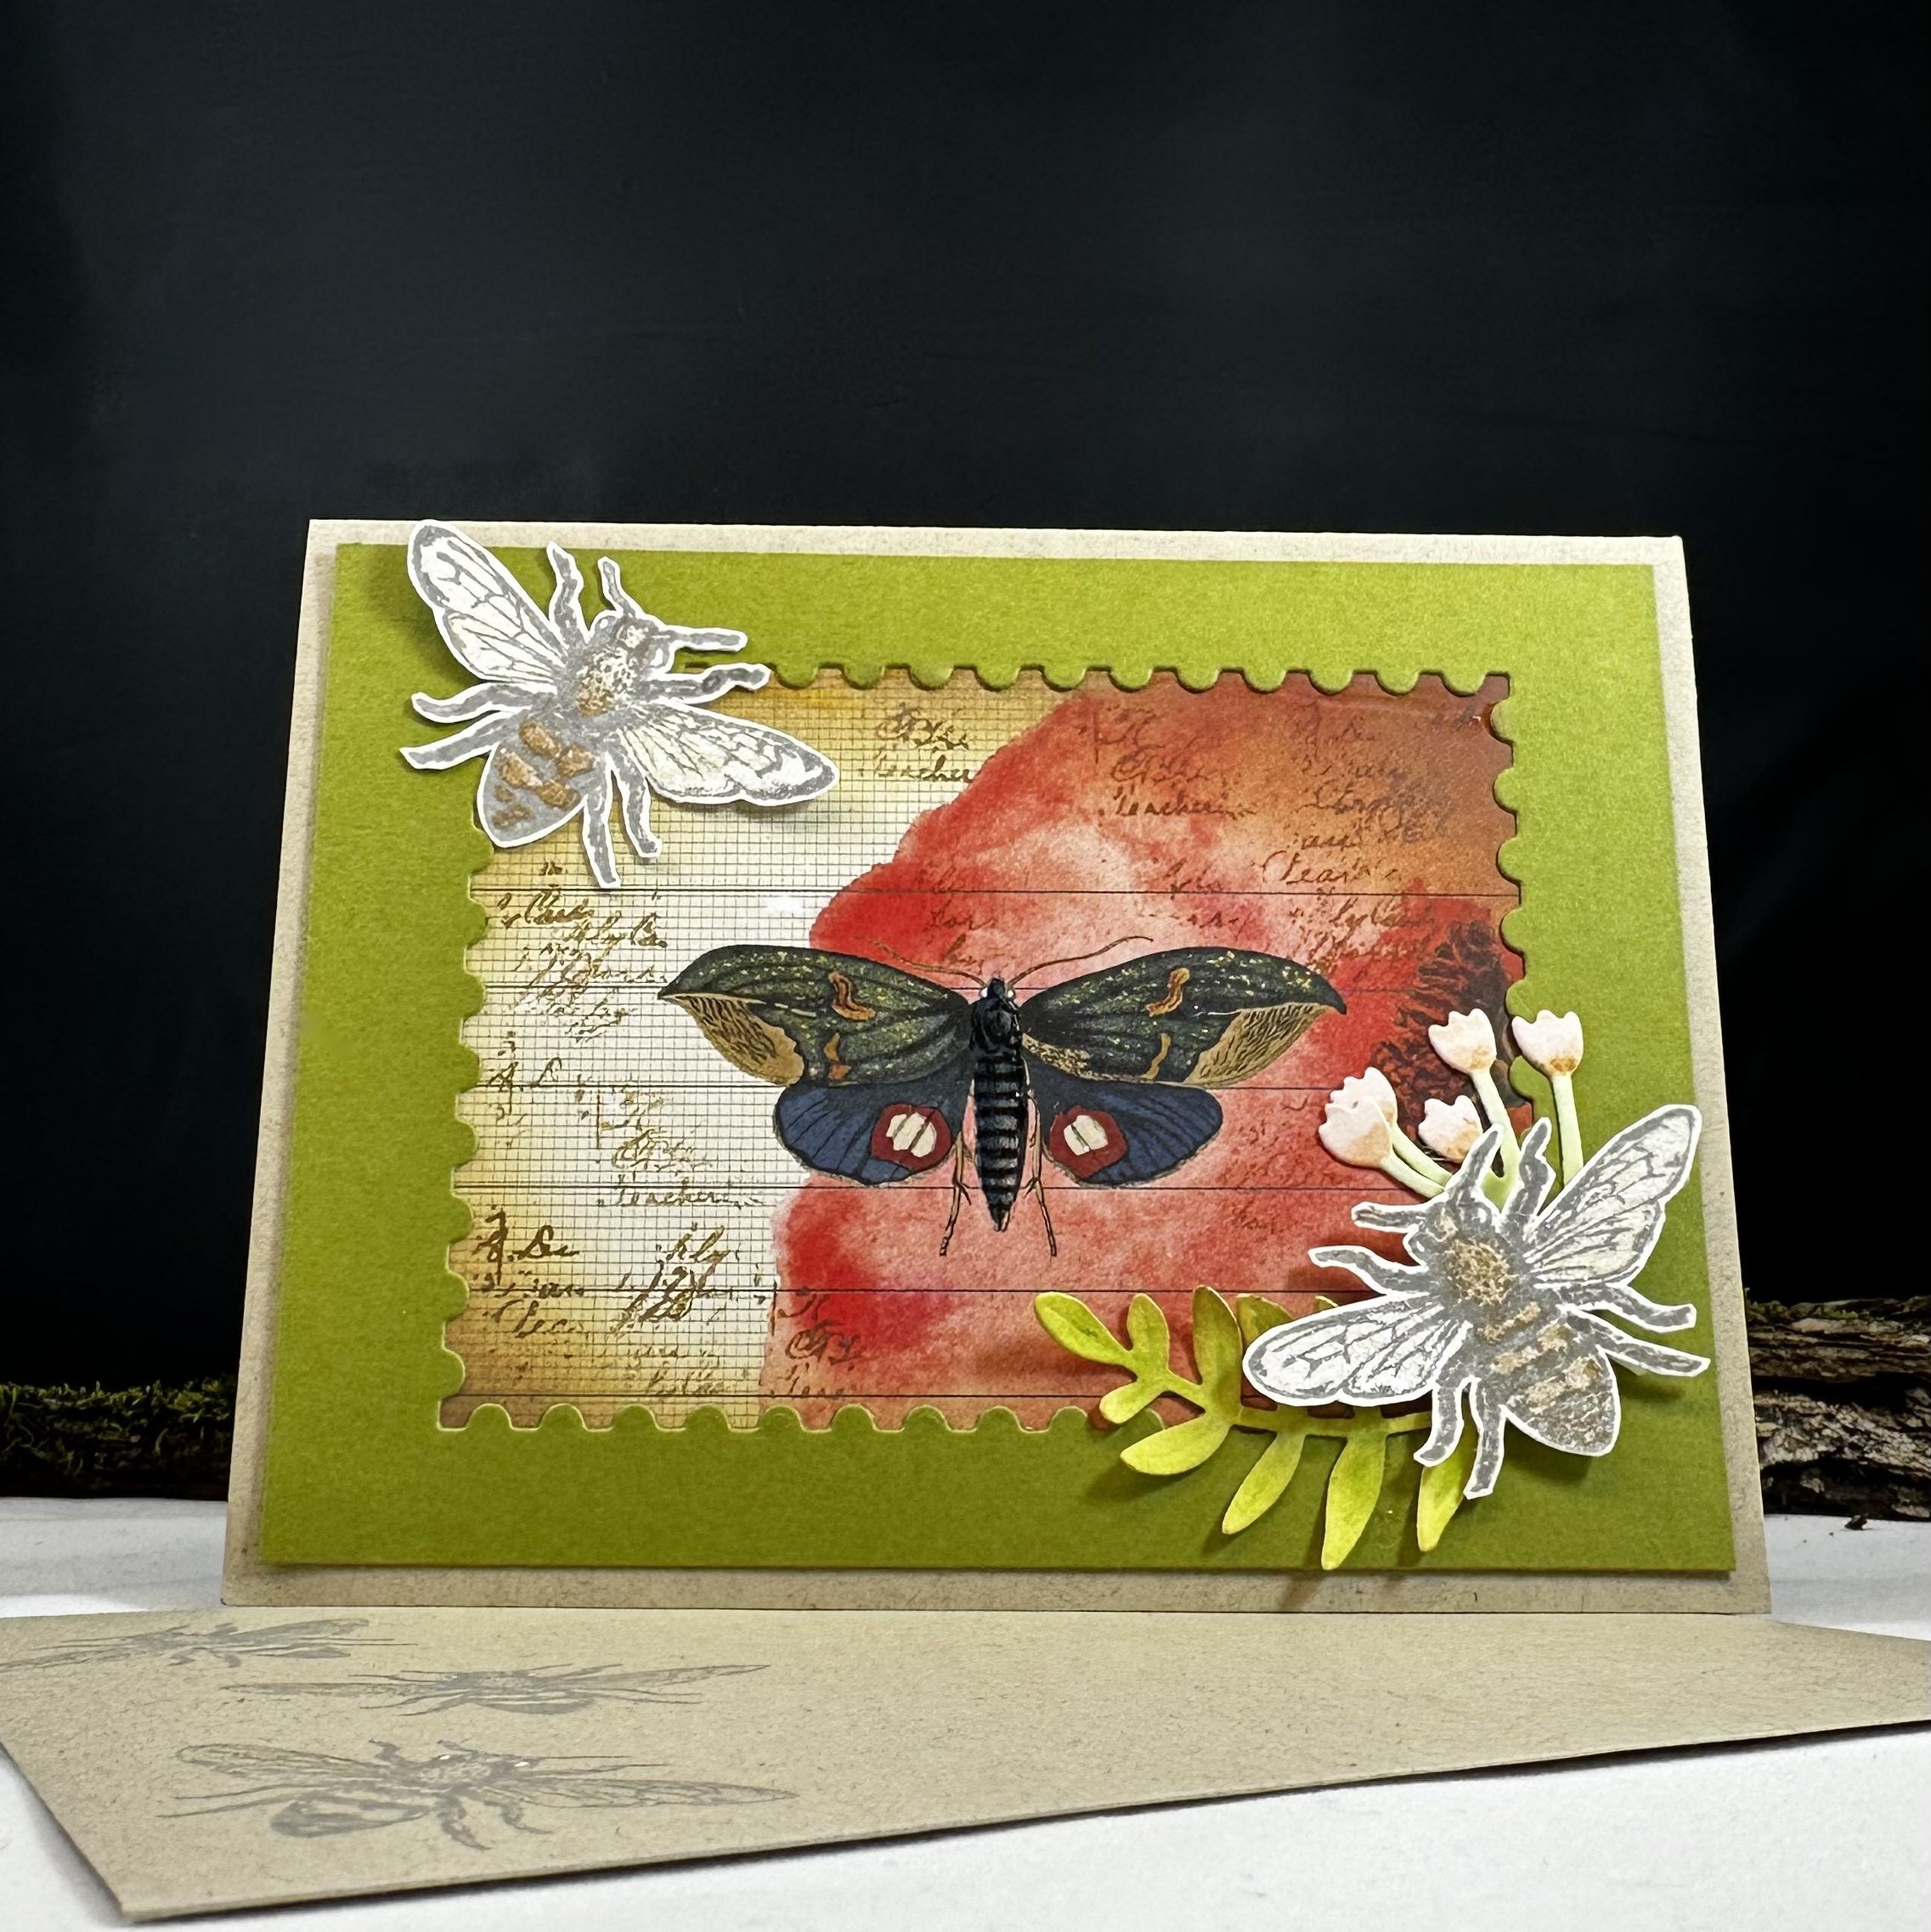
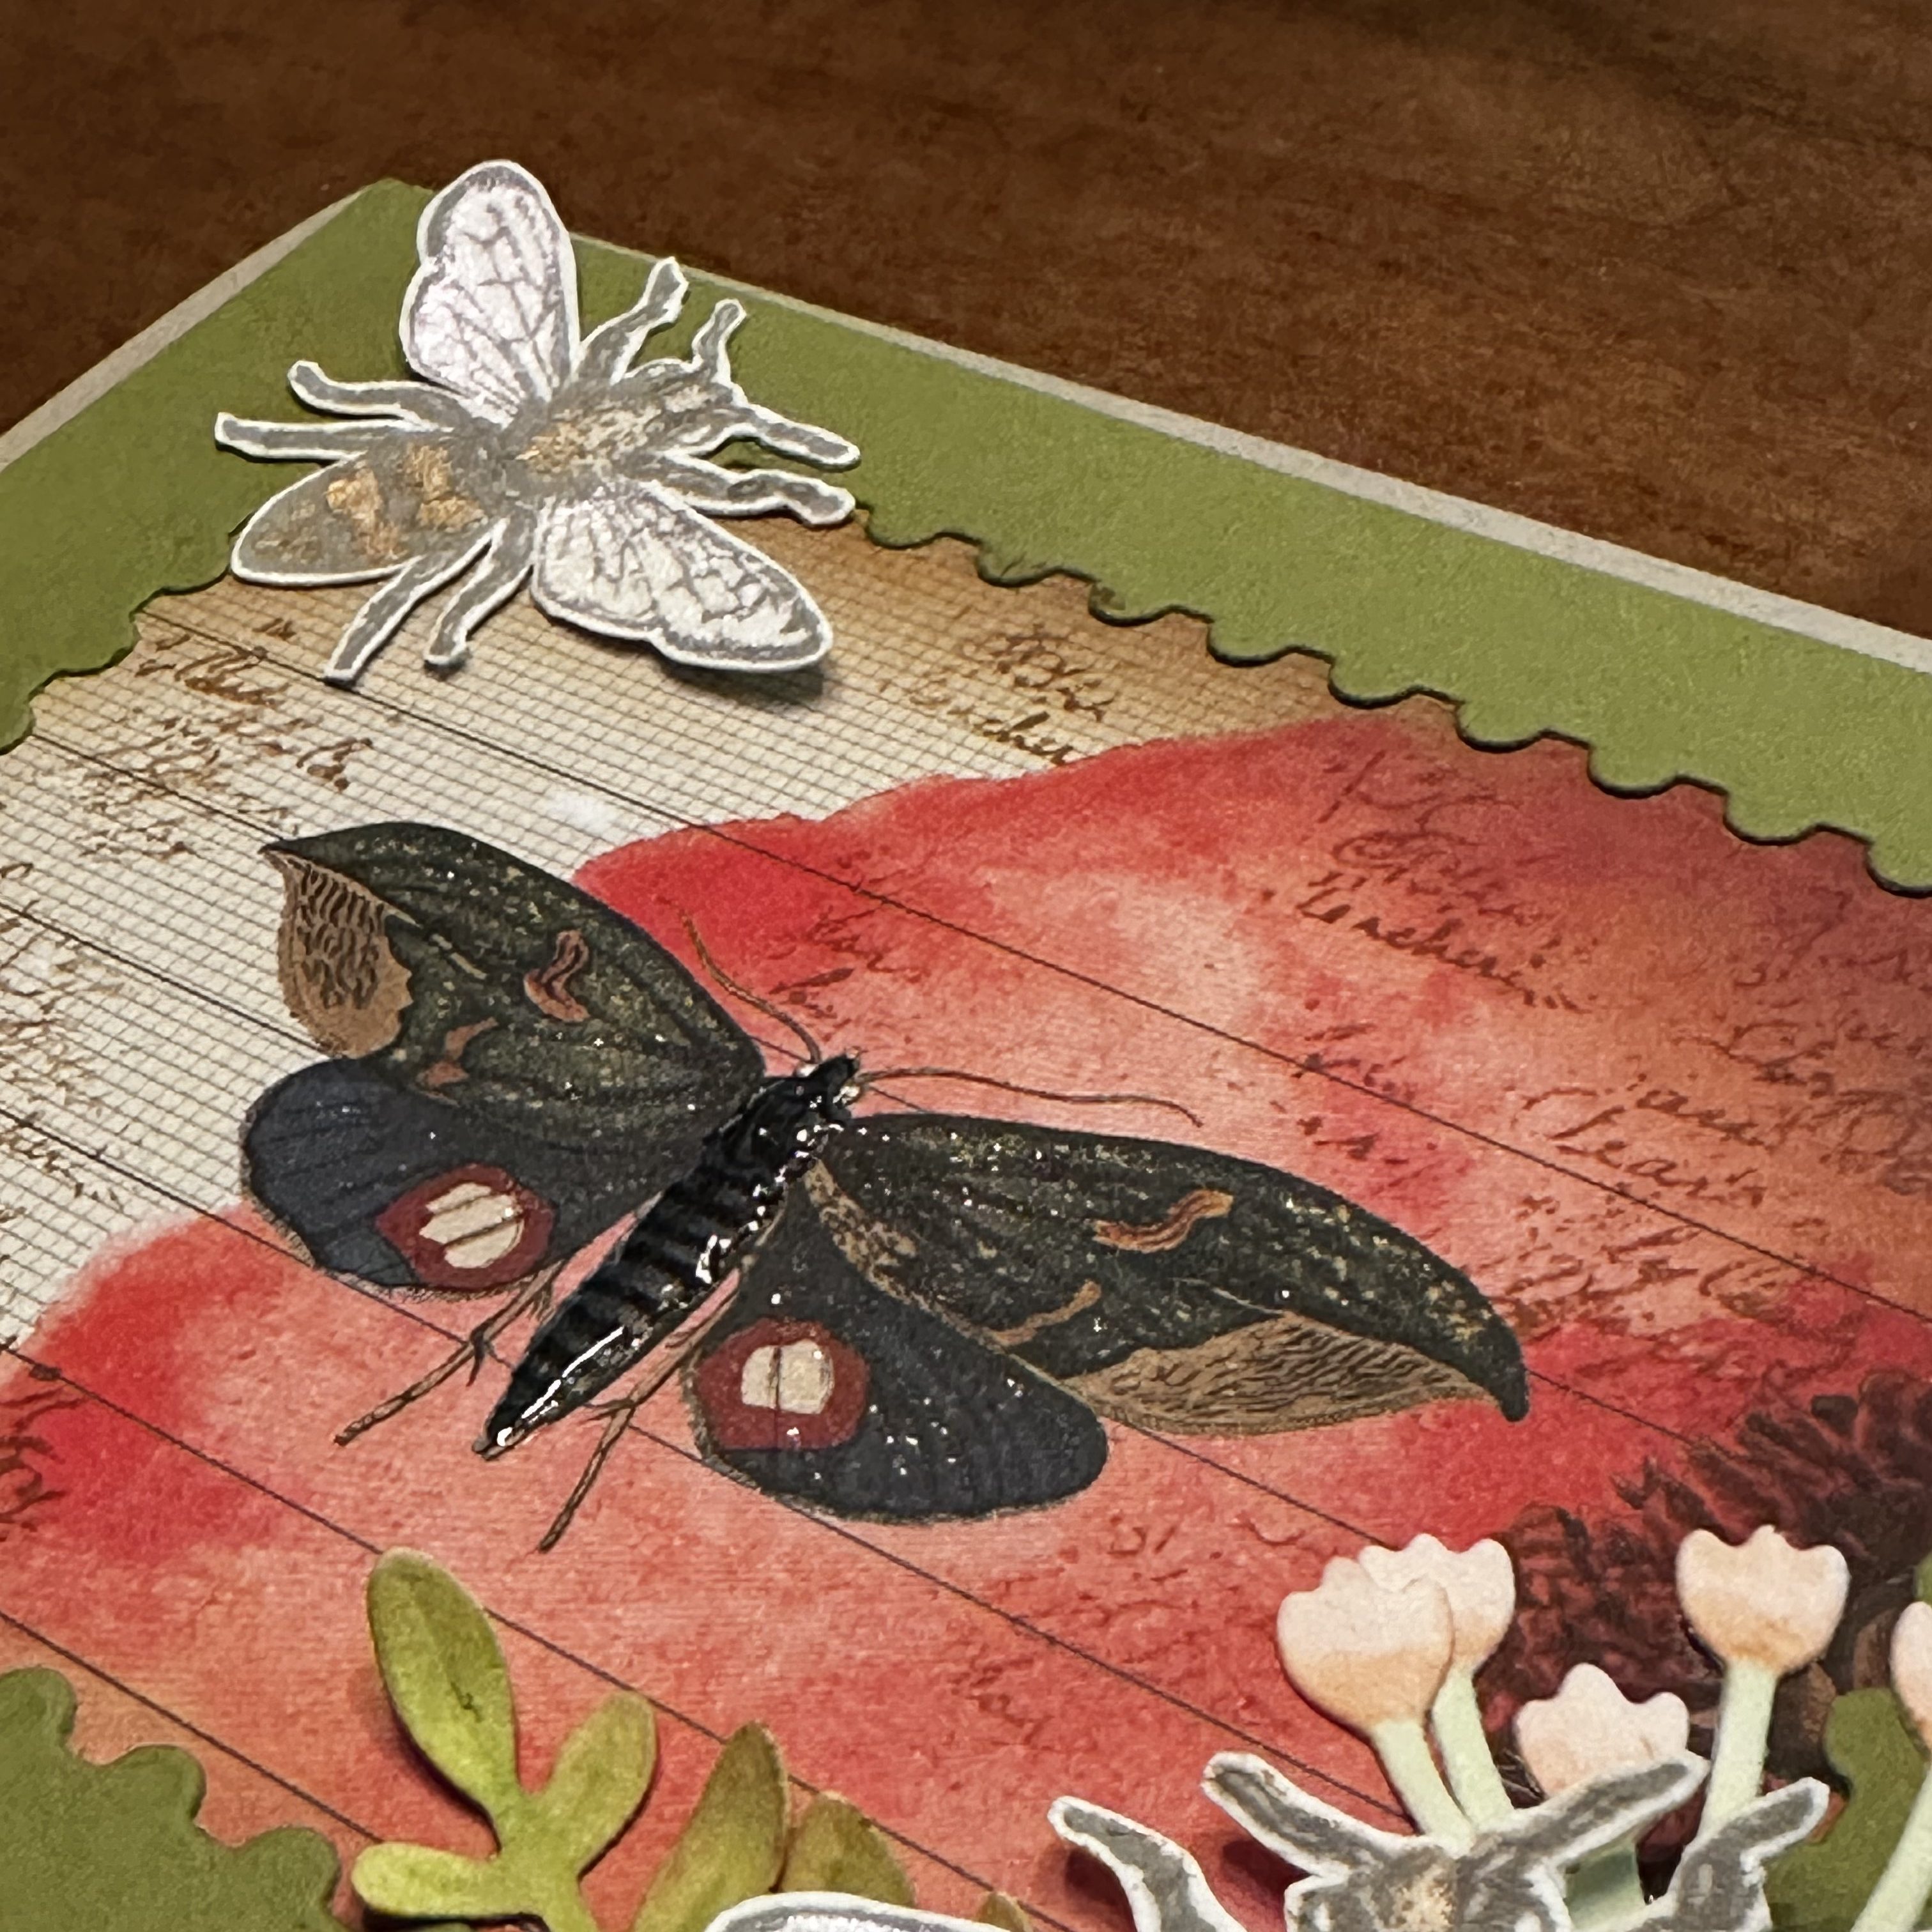
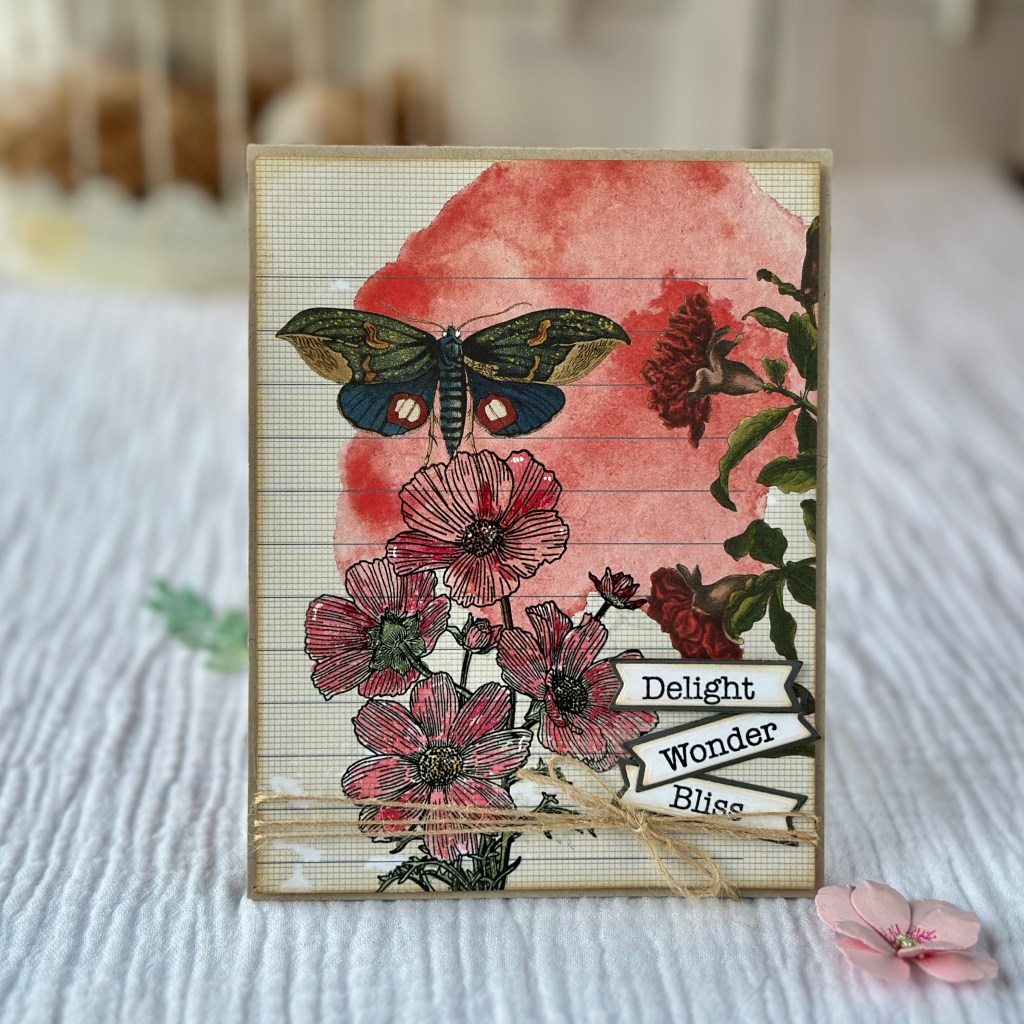
Annette Green’s Harmonious Hodgepodge paper collection is just too pretty to cover up. So instead, I stamped one of the large flower bouquets from the Flowers & Nature set with VersaFine Clair Nocturne ink and heat embossed on clear embossing powder. The flowers were easily painted with red and green watercolors from Elizabeth Craft Designs. This panel was cut to 5 & 3/8″ by 4 & 1/8″.

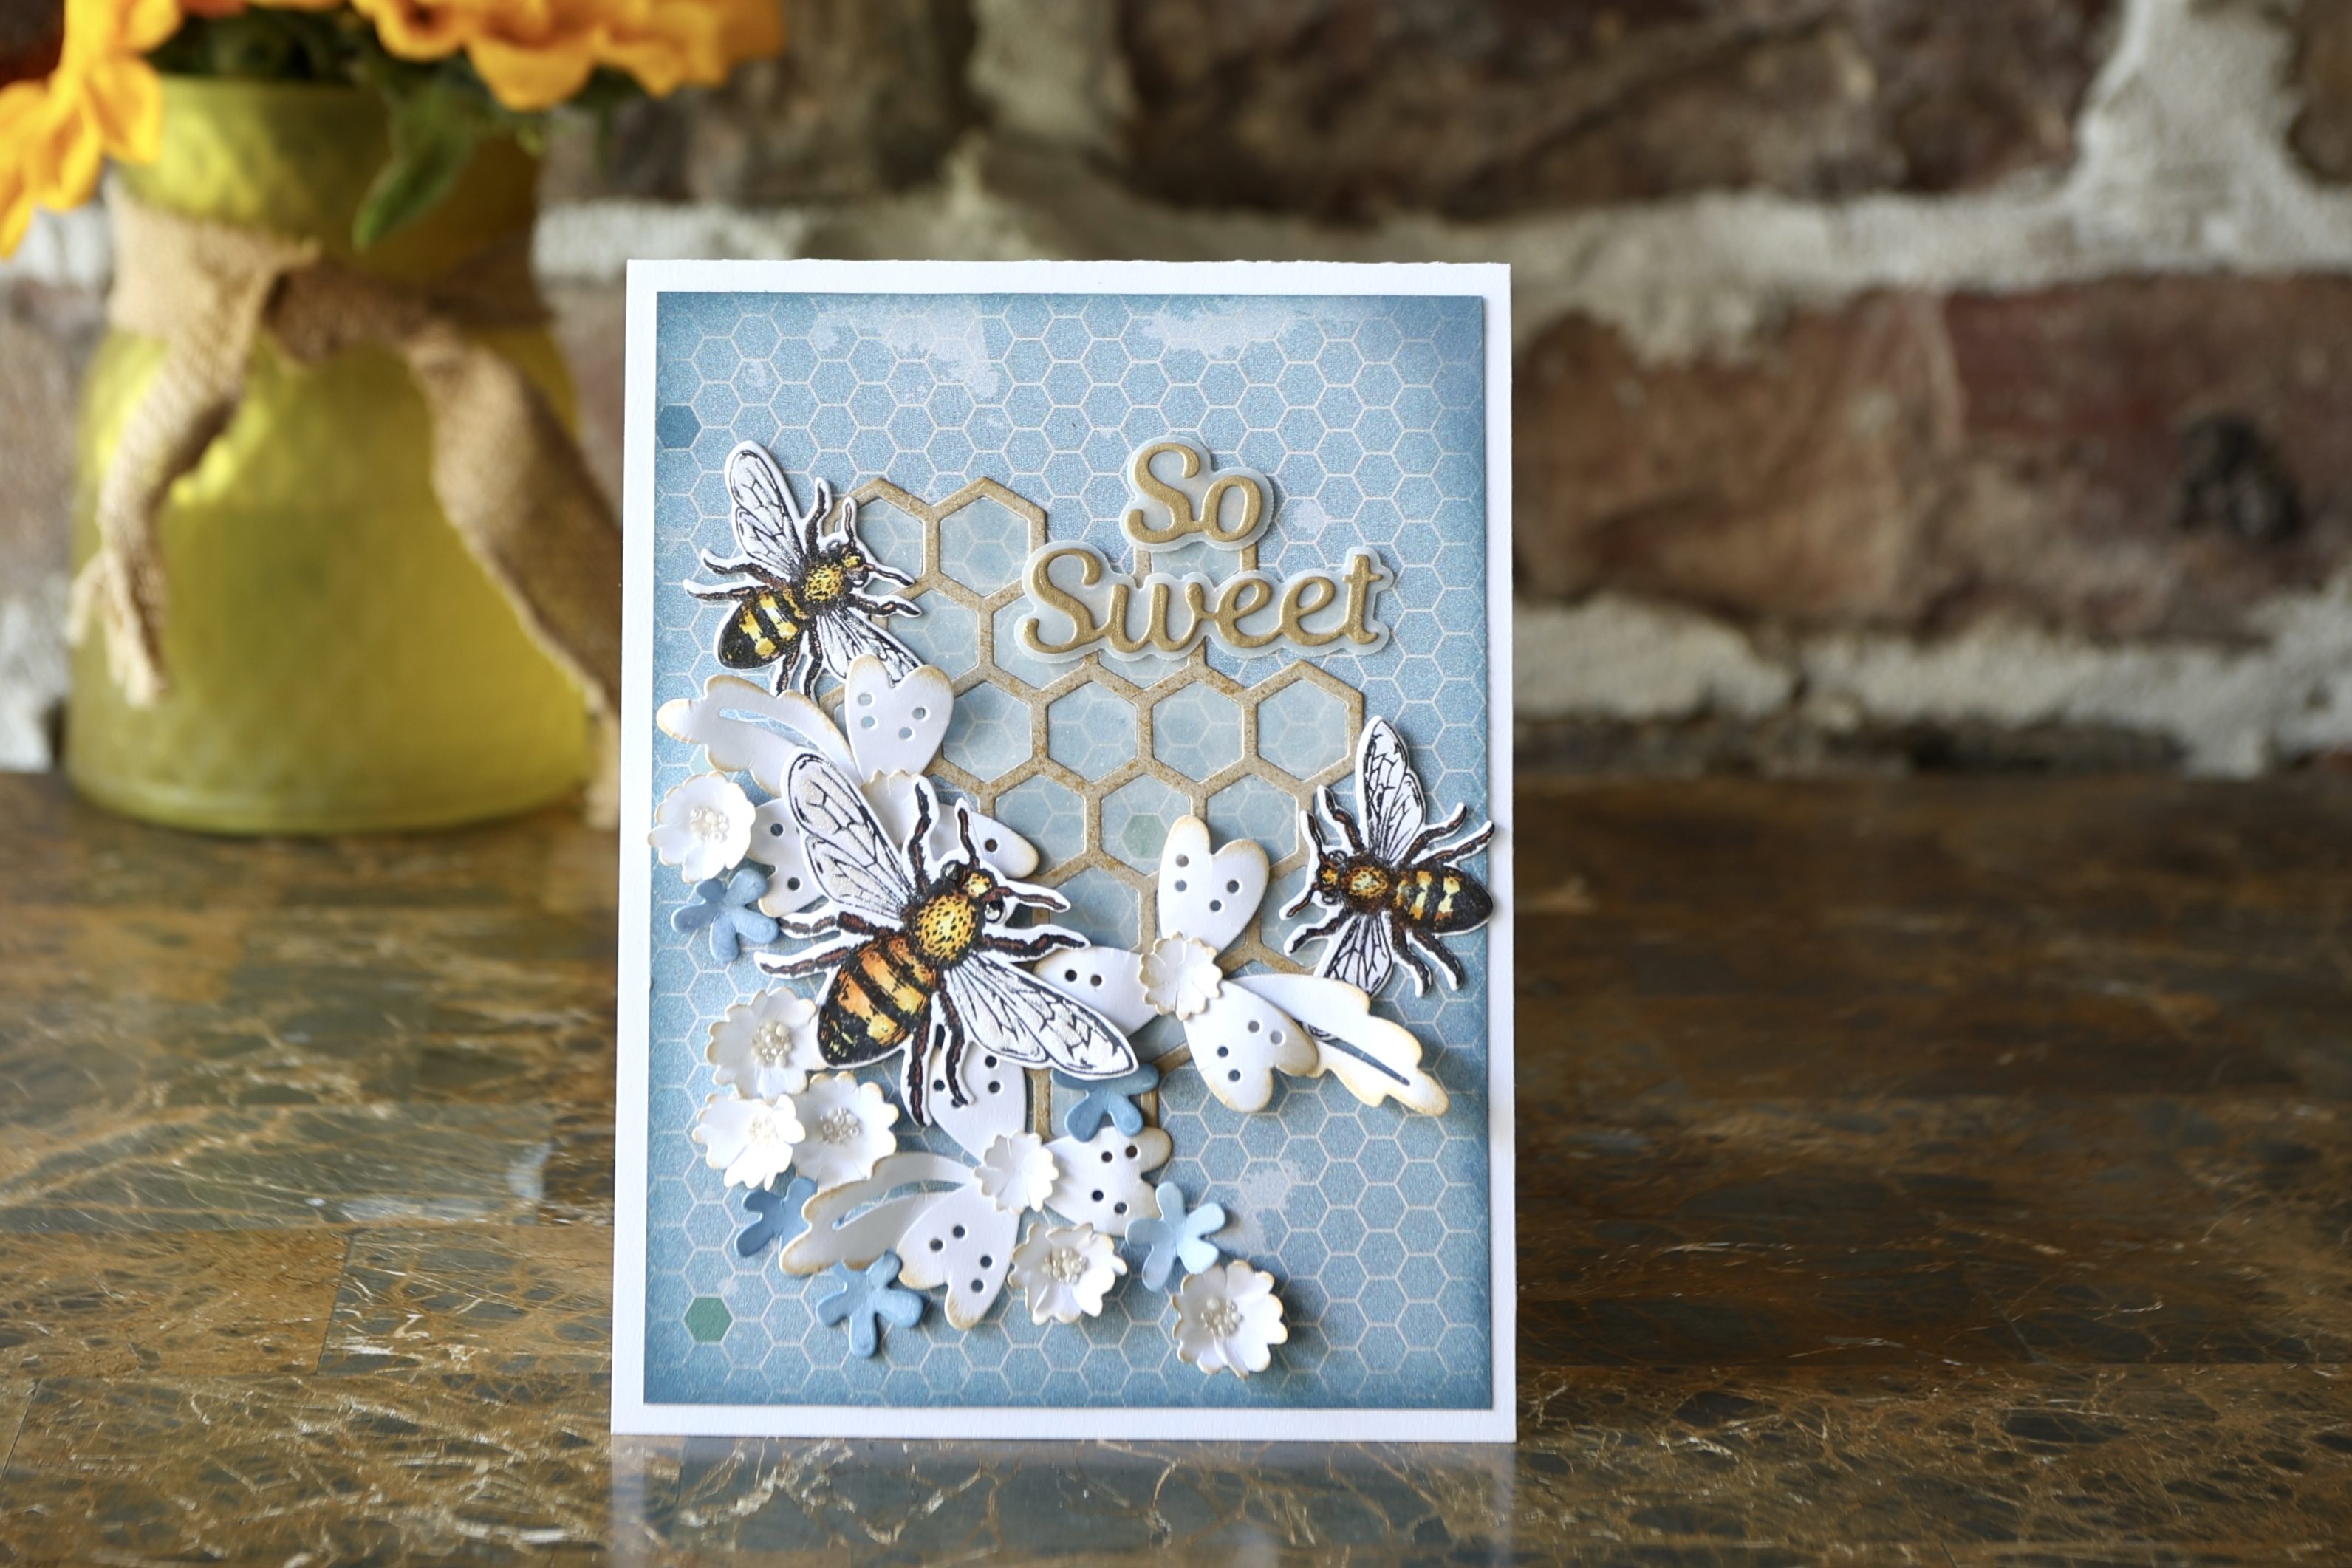
The words Delight, Wonder, and Bliss from Flowers & Nature were also stamped with VersaFine Clair ink onto white cardstock. The words were then cut with dies from the Circles, Banners & Ribbons set and matted with dark gray paper. Jute wrapped near the bottom of the card helps to ground the flowers. Last, the card front was mounted onto 5.5″ x 4.25″ kraft cardstock with foam tape. And that’s it! So easy.
That was so quick that I also decorated the envelope. I simply stamped the same bouquet with VersaFine ink onto the back of a kraft envelope. It made a wonderful crisp black image. Sometimes, I stamp the front of an envelope taking care to stay toward the left side or bottom leaving plenty of room for a name and address.

This is a wonderful way to use your pretty papers and quickly complete your project. What did you think? Do you have paper that would be perfect for this?
Thanks for visiting! It would be wonderful if you would leave a comment or subscribe.
Happy Crafting!
a little bird crafts aka Di
Supplies are listed below. Follow the links below to get 10% off of your purchase. I will receive a small compensation at no additional cost to you. https://ecraftdesigns.com/ALITTLEBIRD28
- Supplies:
- Harmonious Hodgepodge C024 https://collabs.shop/ro766x
- Flowers & nature CS385 https://collabs.shop/ztp6sx
- Watercolor Palette WC01 https://collabs.shop/hjtyup
- Circles, Banners & Ribbons https://collabs.shop/jrcs2l
- VersaFine Clair Nocturne ink
- Clear embossing powder
- Jute