Light Up Card

Hi and welcome to a little bird crafts!
Today I have a snowy mixed media card with a star that actually lights up.

I started with a white square, 5.5 inch, card base.
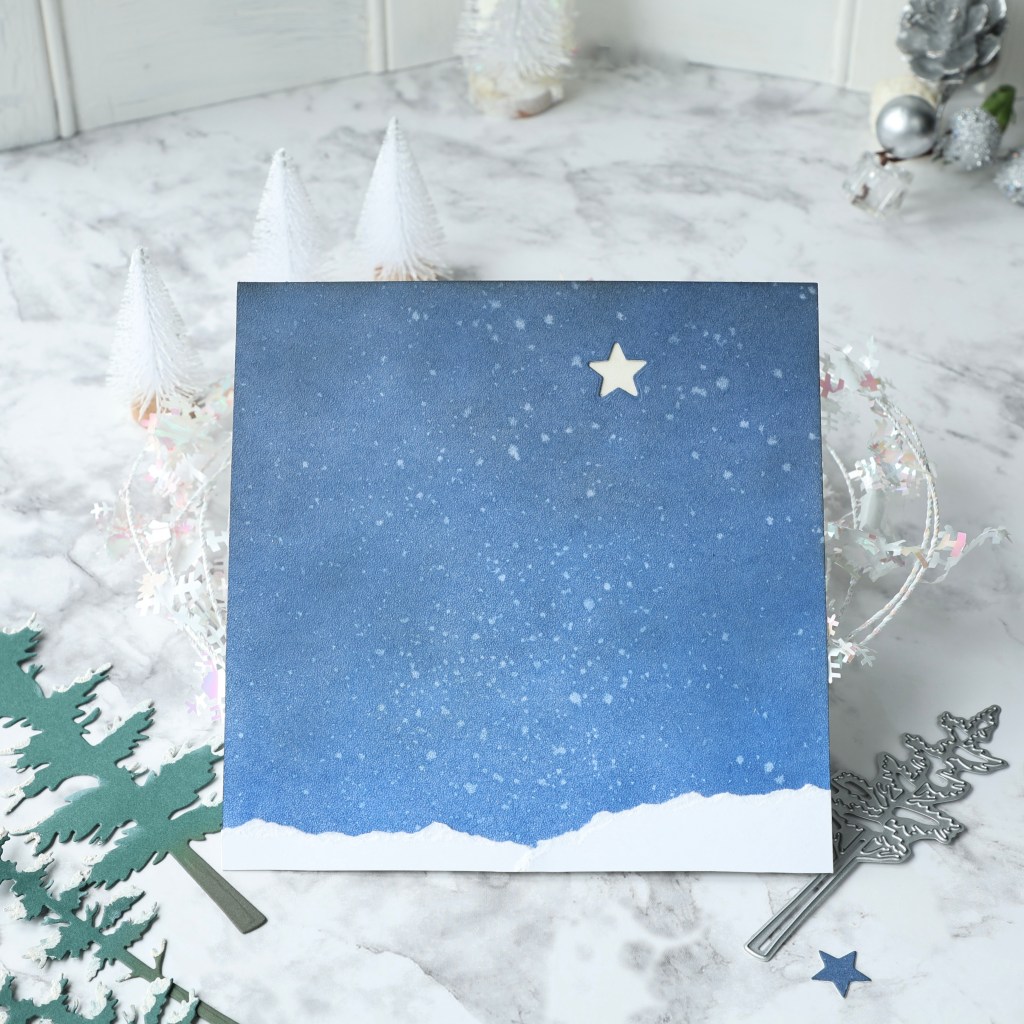
I cut a piece of Soft Finish cardstock the same 5.5″ size to create the card front. I blended faded jeans at the top and blueprint sketch on the bottom of the panel, spritzed it with water, and dried with a paper towel leaving whitish watermarks of “snow”. Later, Pearl Mica Spray was added to create sparkle on the snow.
Torn white paper at the bottom creates a snowy ground cover.
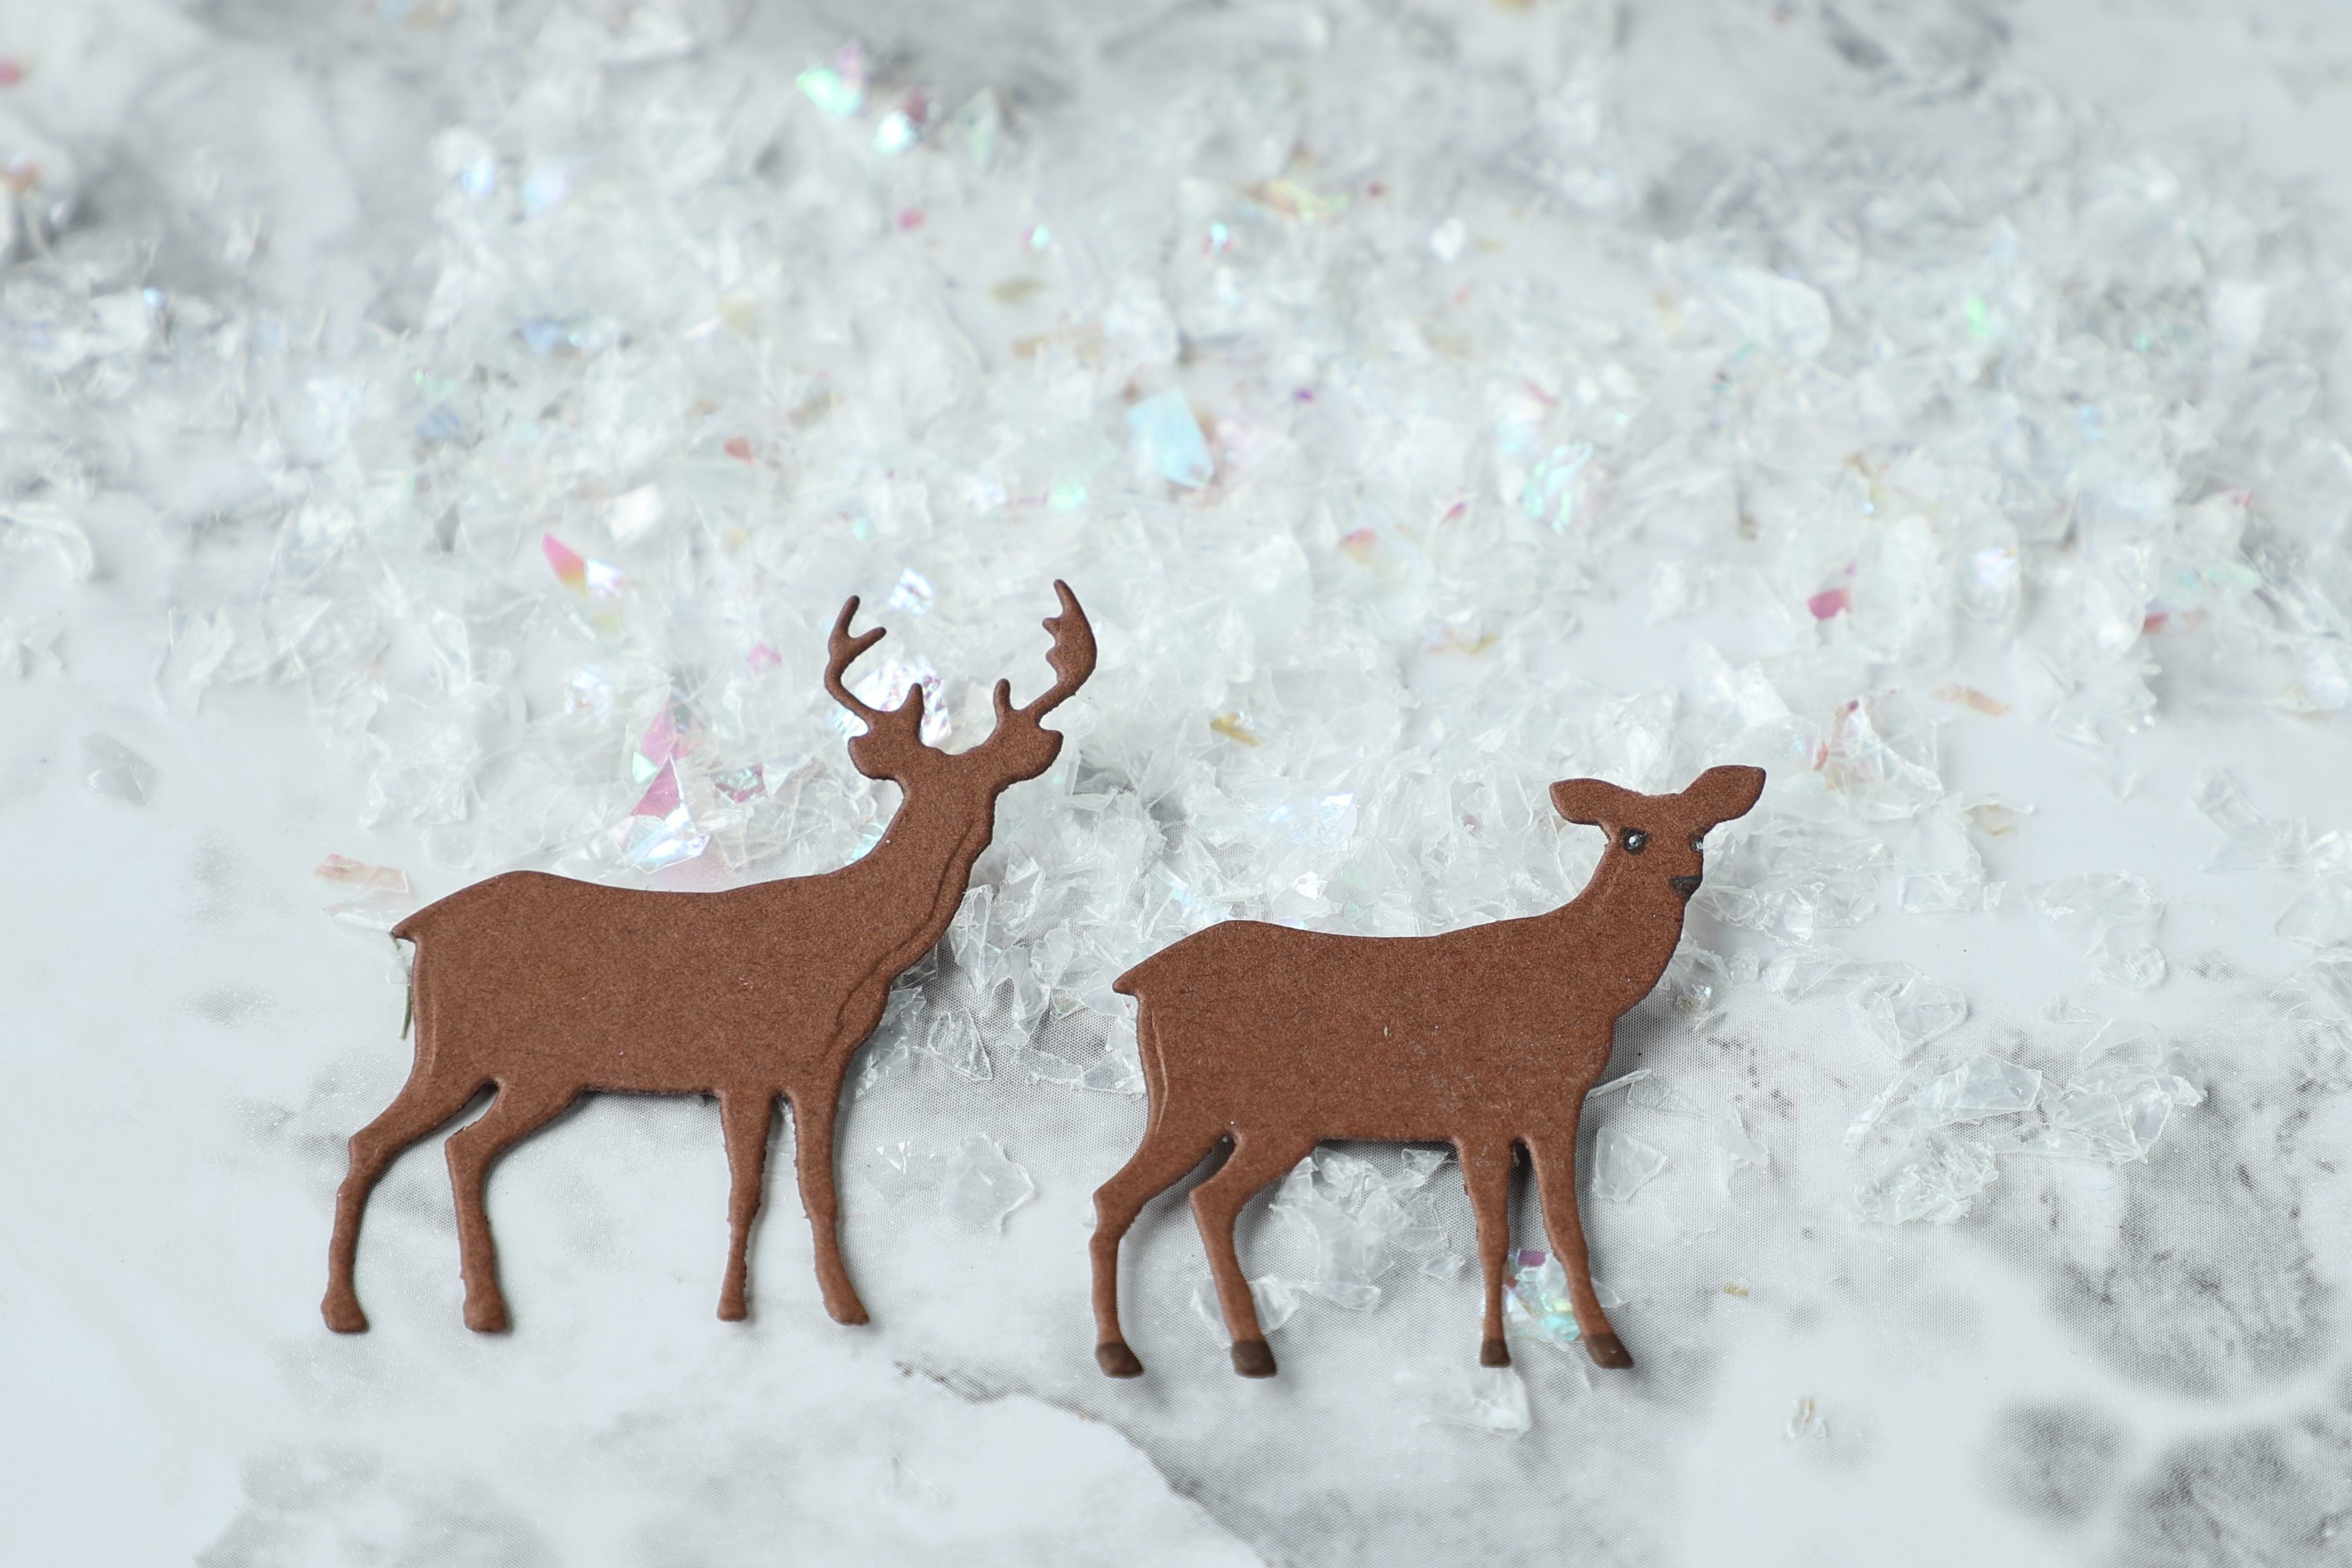
Creating a doe was easy by using fine point scissors to cut the antlers from the die-cut of the buck. Blackening the hooves, eyes, and nose with a black fine point marker helped to create some detail and a white Gel pen dot brightens the eyes.


On the left, a few white dots helped to create the look of a fawn. Right, antique linen Distress Oxide was blended on the antlers and black and white pen details were also added to the buck.

Placing the light behind the star was a bit tricky. I placed a glue dot on the light mechanism and positioned it onto the card base, then placed the card front over and repositioned the mechanism until it was in the proper place. I pencilled in the correct position, removed the glue dot and applied permanent adhesive to the mechanism and attached it to the card base. Strips of foam adhesive were placed around the light mechanism and over the card to allow room for the thickness of the light.
I adhered vellum behind the star to allow the light to shine through. Then I added foam behind a gold star and placed it over the vellum from the front. This lets light shine under the star and creates the glow.
I placed a smaller gold star over the push button that activates the light so it’s easy to turn it on. Tiny holes were made with a punch to add a few holes near the star for a bit more of the glowing stars effect.
Last, Snow-Tex was easily applied with a paint brush randomly over the tree branches and the ground. It adds some texture.
The lights mechanisms are easy to use and come other ways, like multi-strands of lights. I hope you give it a try.
Thanks so much for visiting and reading along. It would be great if you’d leave a comment, too.
Happy crafting!
di/a little bird crafts
- Supplies:
- Soft finish card PSF144 https://collabs.shop/95ccuq
- Forest Friends & Frames 2199 https://collabs.shop/znh3or
- Joy & Merry 2081 https://collabs.shop/hsnahb
- Happy Banners 2200 https://collabs.shop/xonldy
- Fine Pointed Tweezer 817 https://collabs.shop/sn45ce
- Fine Pointed Scissors 816 https://collabs.shop/grbzo9
- Pear Blossom Press One Light
- Distress Oxide inks: faded jeans, blueprint sketch, black soot, and antique linen
- Wendy Vecchi Pearl Mica Spray
- Snow-Tex by DecoArt